Showing posts sorted by date for query restoration. Sort by relevance Show all posts

Sunday 5 March 2023

Rings and Carburetors: Swimming Upstream on this Vintage Motorcycle Restoration Project

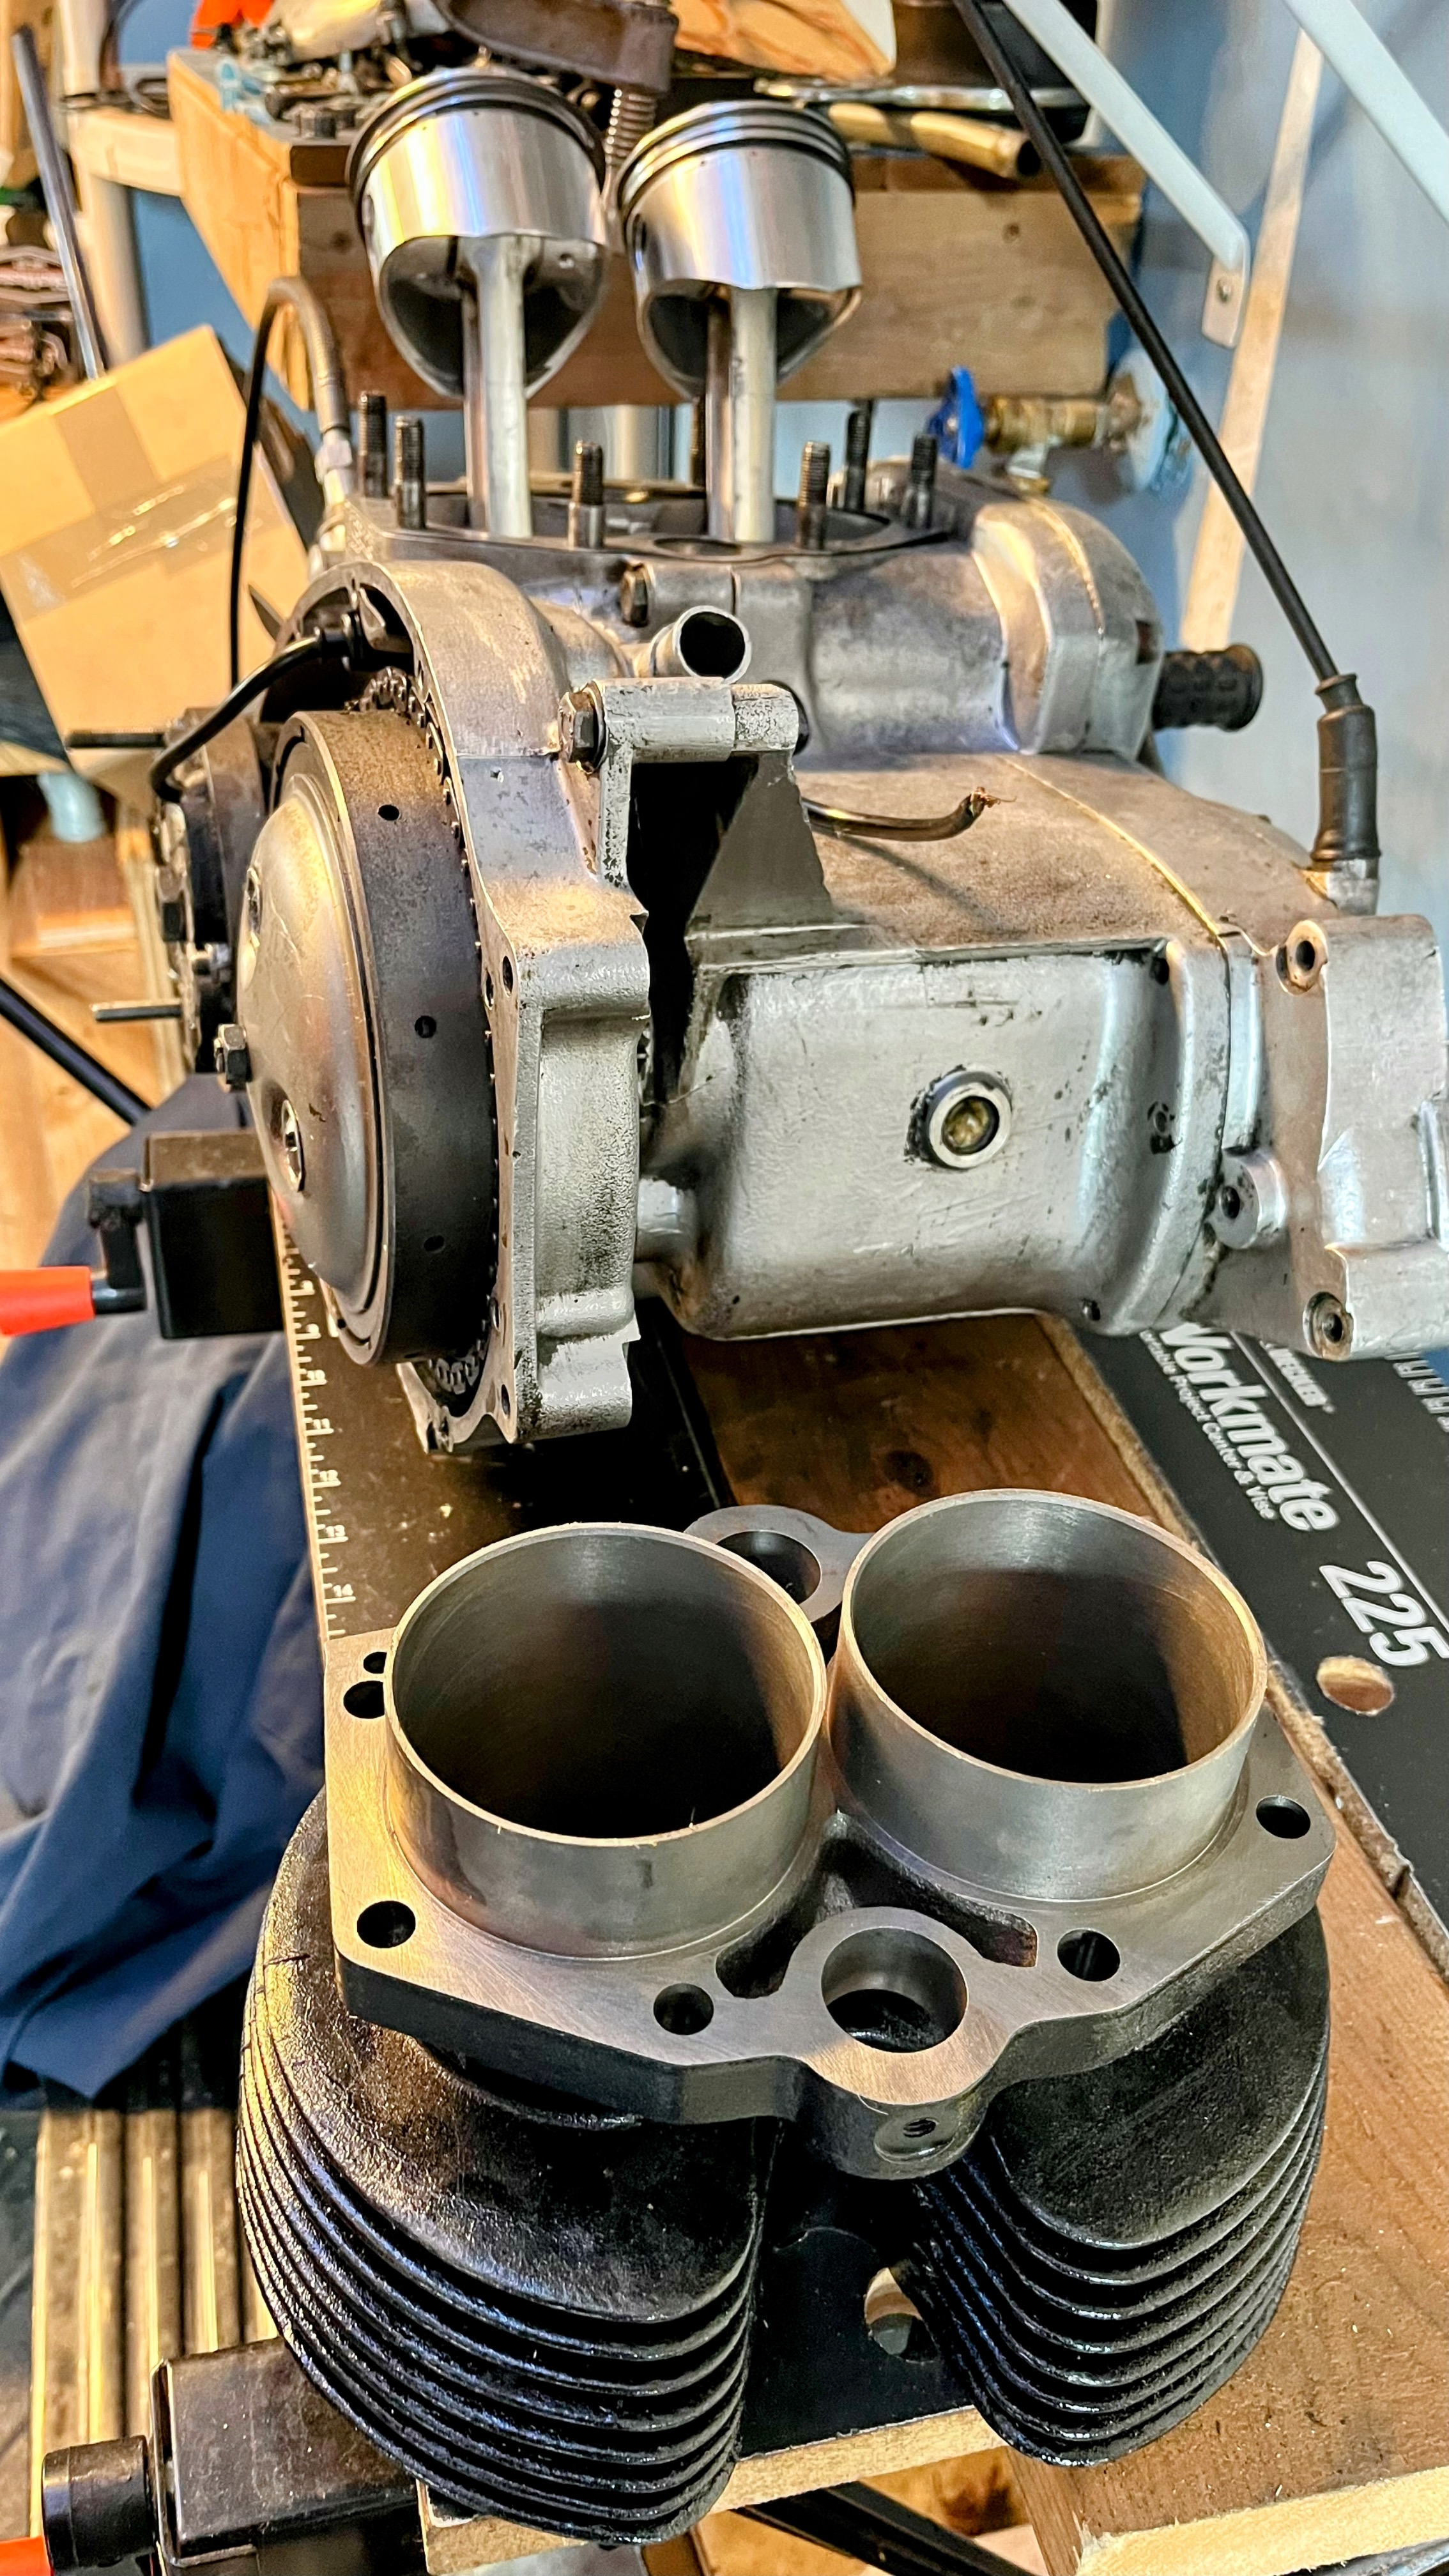
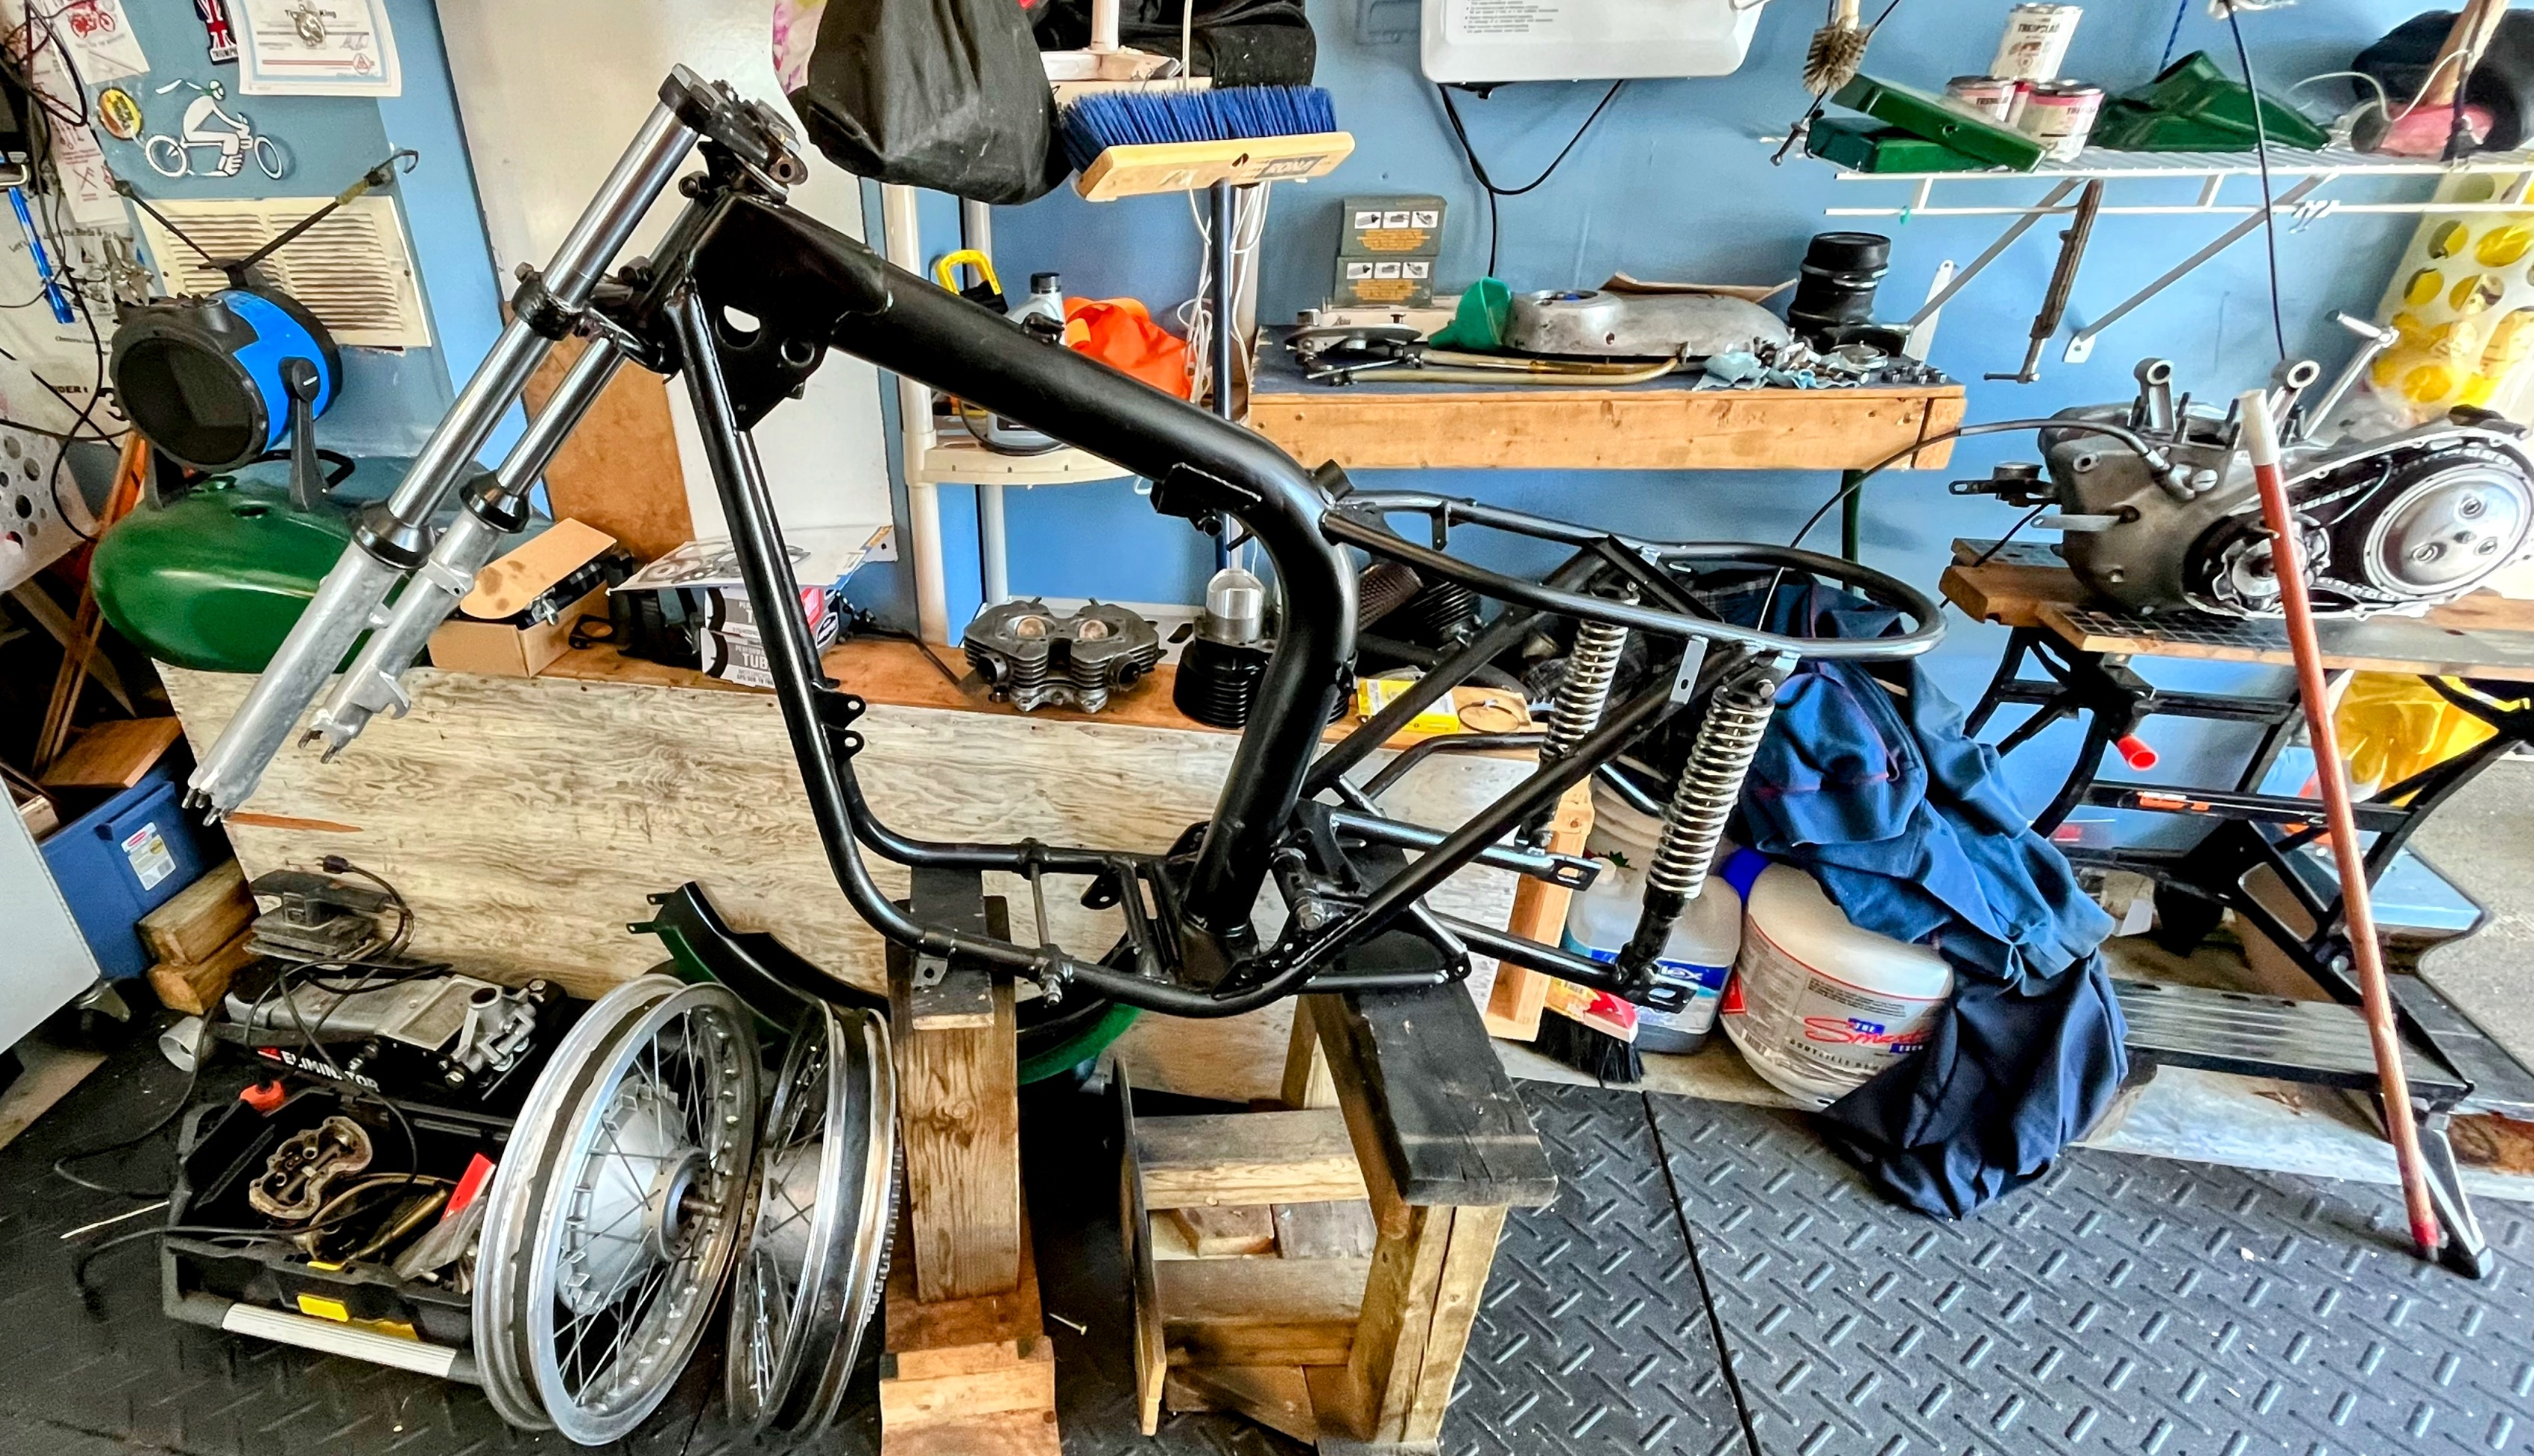
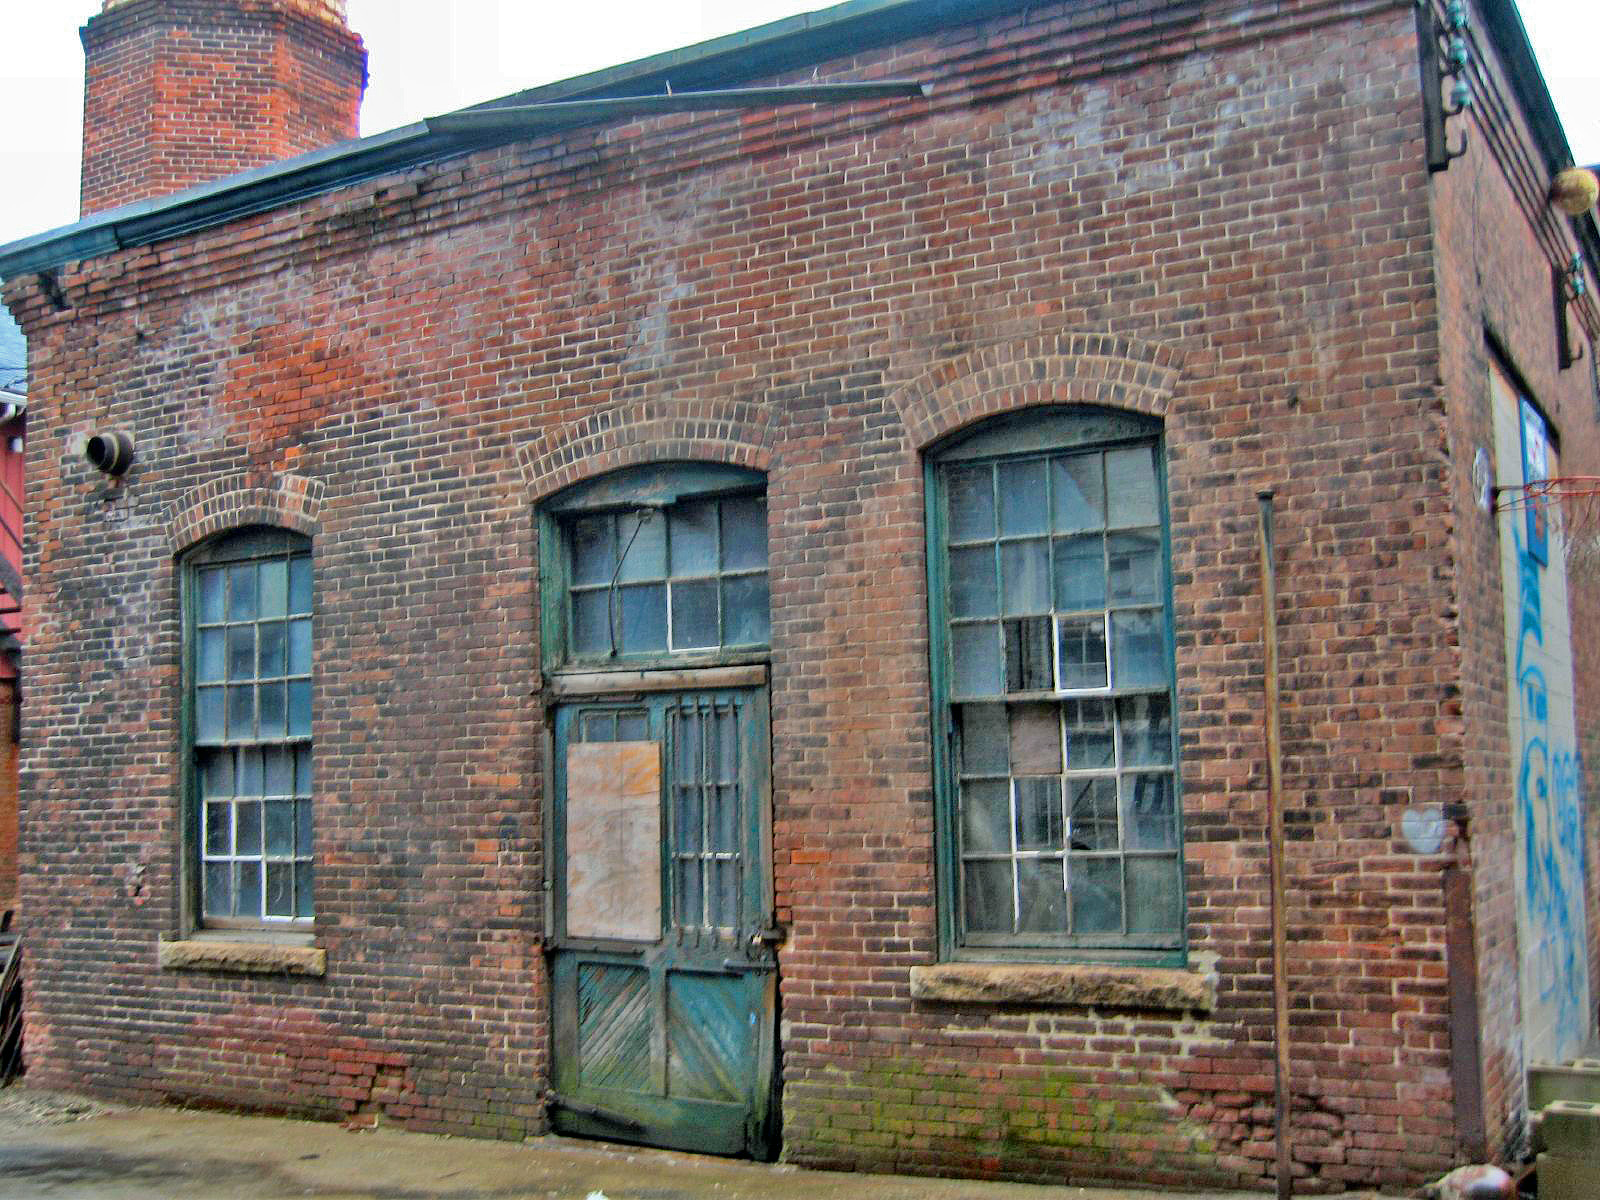
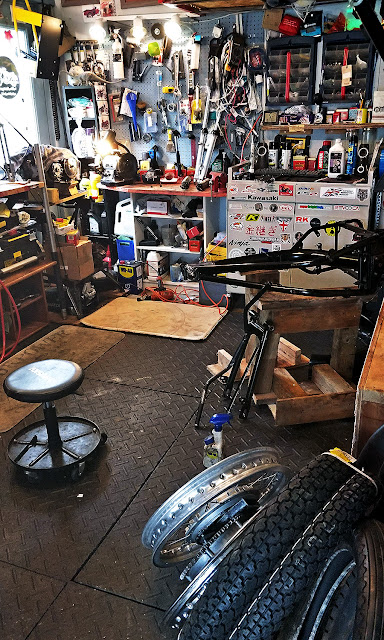
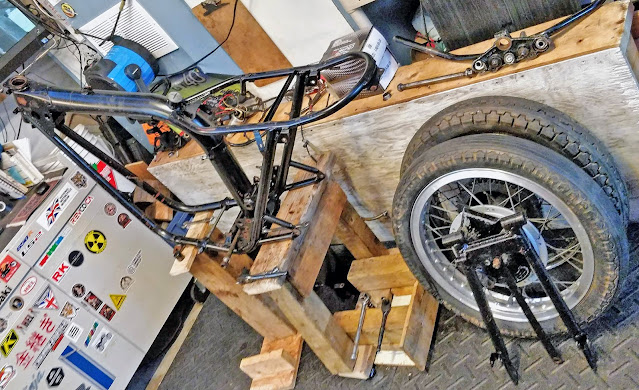
The never ending winter drones on up here, so I'm putting my back into getting the '71 Triumph Bonneville project closer to a state of mobility.

I have a new 750cc head and pistons on hand, so I gave the piston rings a go. Installing them is pretty straightforward and the first set went in no problem, but as I was compressing the second set into the cylinder sleeve it didn't feel right, so I backed everything out and the bottom ring came out in pieces. I can only think it was already compromised in the package.

I sent Britcycle an email and they looked through the warehouse to see if they had any extras laying around, but I was out of luck, so it's a $100 failure (new rings, taxes, shipping). Ouch. This got me looking at costs for this vintage project. The last one I did was the Fireblade. Those are my favourite kinds of restorations. Parts are easy to find and relatively inexpensive, the bike is rideable fairly quickly and, after riding it for a season, I can turn it over for at least what I put into it (or with a small profit as was the case with the Fireblade).

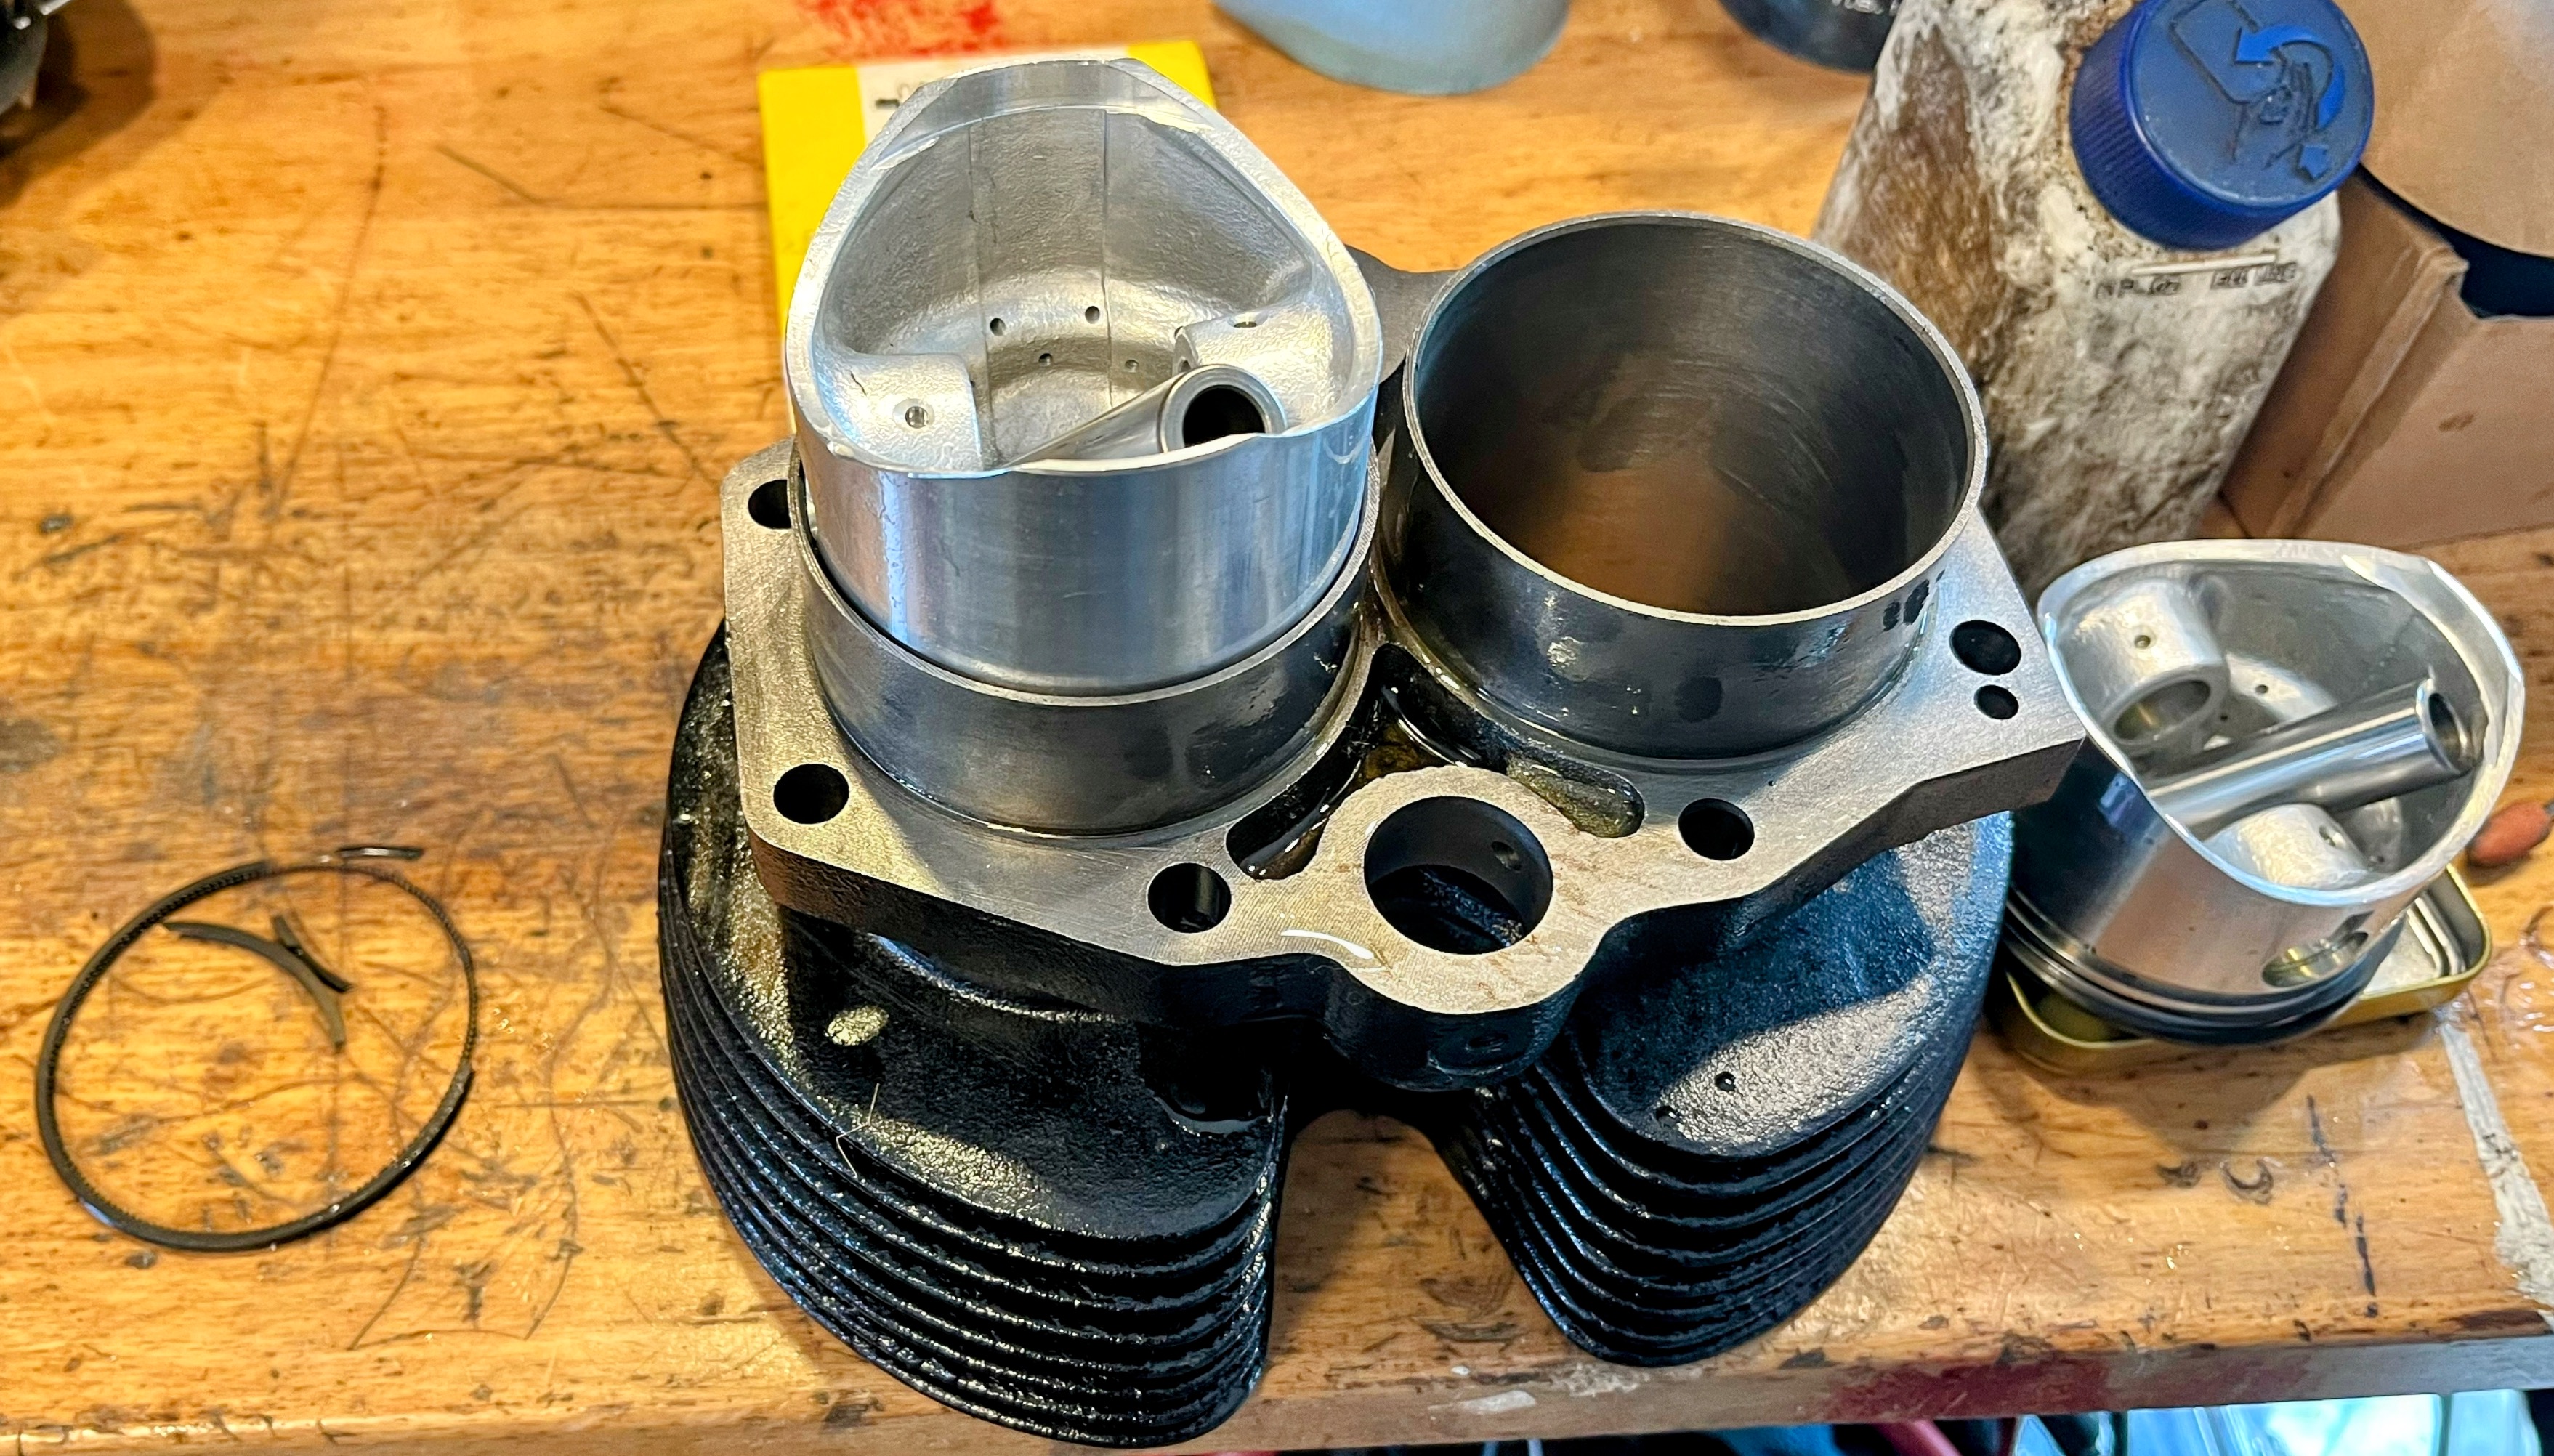
New cylinder heads and cylinders... and broken ring.


I think I'm still right way up on the Bonneville simply because these older bikes seem to work under their own economy. I was looking up prices of what I've got on eBay this evening and the frickin owners manual that Bryan threw in at the last minute is $50US! A used top end is $500US (and Bryan gave me 2 of the things!). I imagine I could double my money just parting it all out, though dealing with people doing that would be a giant pain in the ass - at least it has been with the newer bike crowd, maybe the vintage types are less adversarial.

I had a couple of choices when I was considering going old school, and I think I picked the hardest possible one to bring back to life. The technical side of it doesn't bother me, but with costs increasing all around I'm bothered more about the high prices and difficulty finding and shipping parts than I am with what I've got to do to bring it back. That old BSA would have probably been a better choice for my first vintage resto, but it (and alas, Bryan) are long gone.

I've got what I've got, and I've got a lot of it, and I'm crafty. I'll see what I can do about replacing fasteners and the other bits and pieces I'm missing without it breaking the bank, those these strange old British pre-metric fasteners are a story unto themselves. The goal right now is to rebuild the bike to an operational state and then maybe ride it for a bit before putting it up for sale. I still need a seat and exhausts and I'll need other odds and ends like control cables. If I can get it back to a state of play, I think I can cover costs and move it along, then I'm thinking I'll go back to my favourite hunting grounds: forgotten bikes from the 80s, 90s and 00s that I can turn over for next to nothing while giving me a chance to ride something different for a little while.


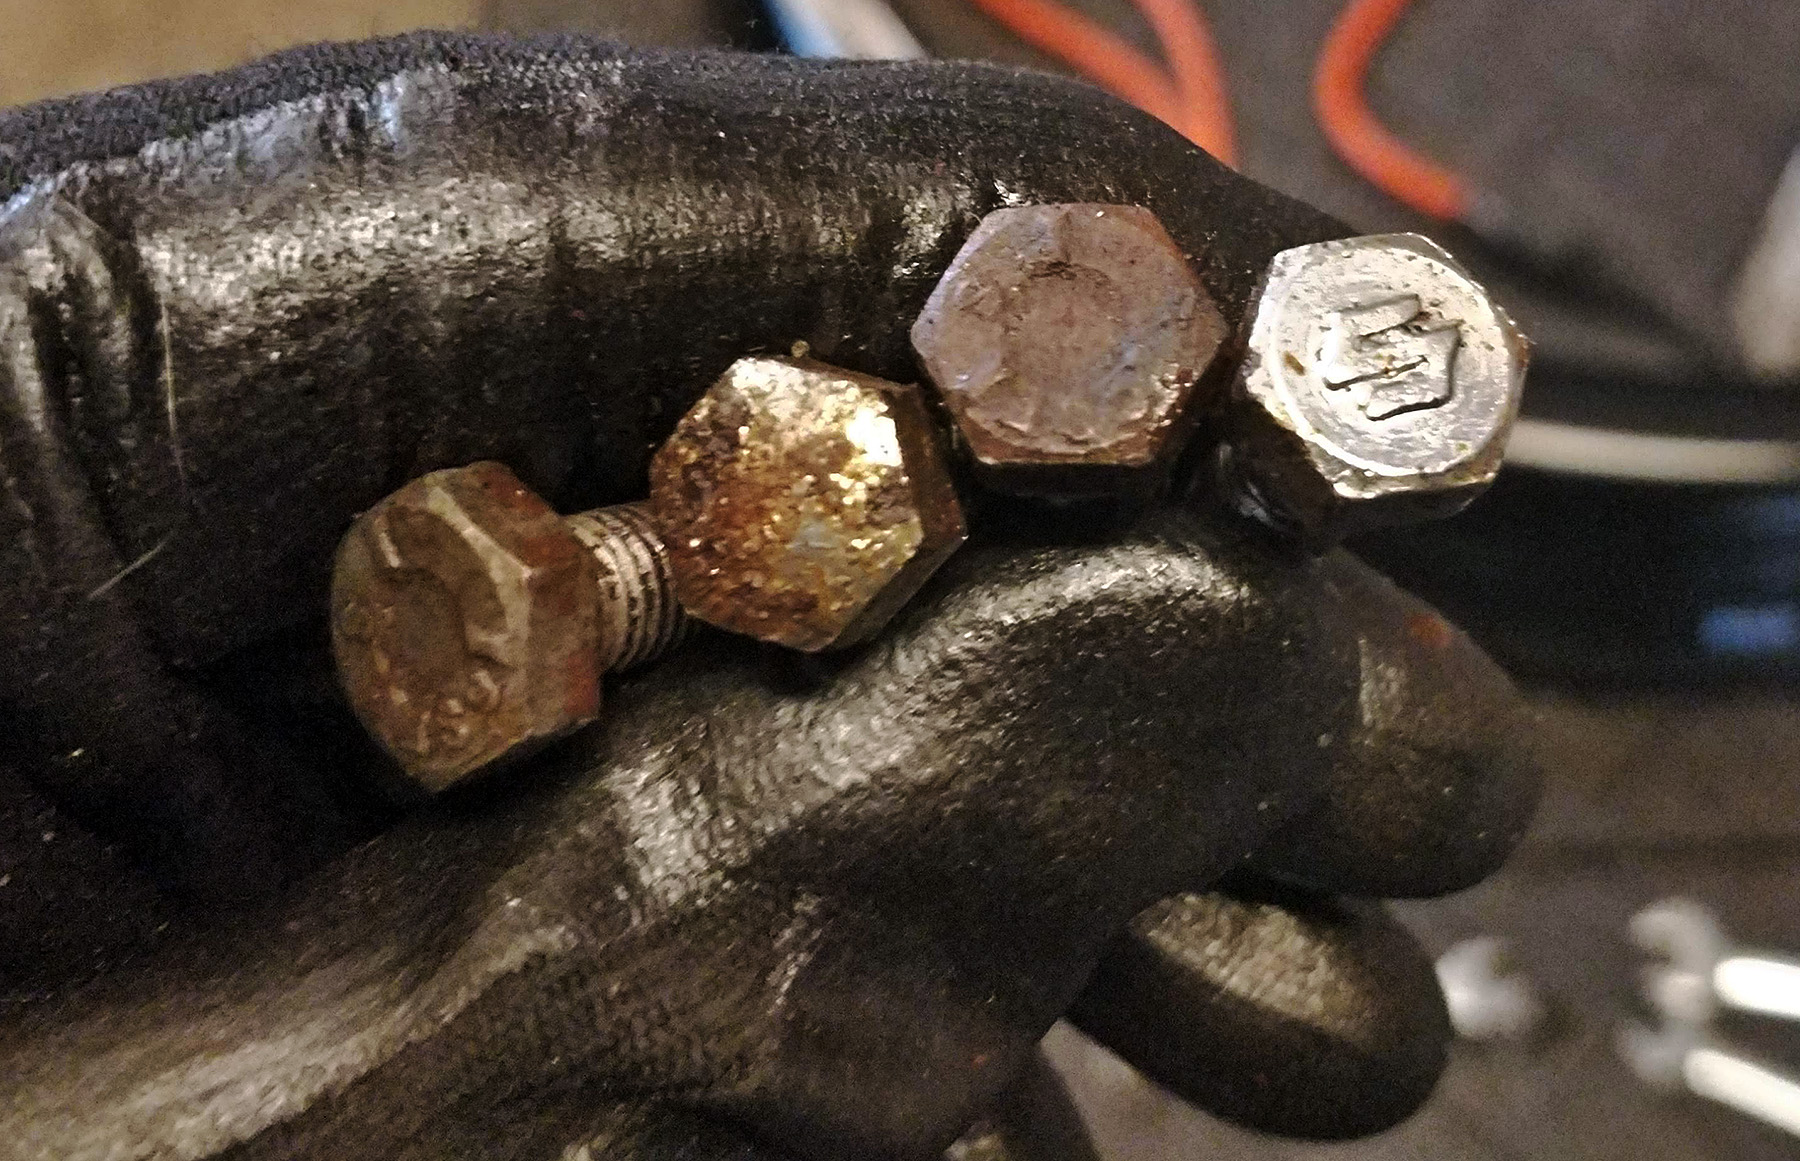
When the ring crumbled on me I changed gears and rebuilt the Amal carbs. That went well, but I'm missing two of the bolts to put the second carb back together - they weren't on it when I wiped the mud and rust away. It's these little setbacks that stall things, and it's not like I can grab a couple of replacements out of my big tray of bolts (most of which are metric).


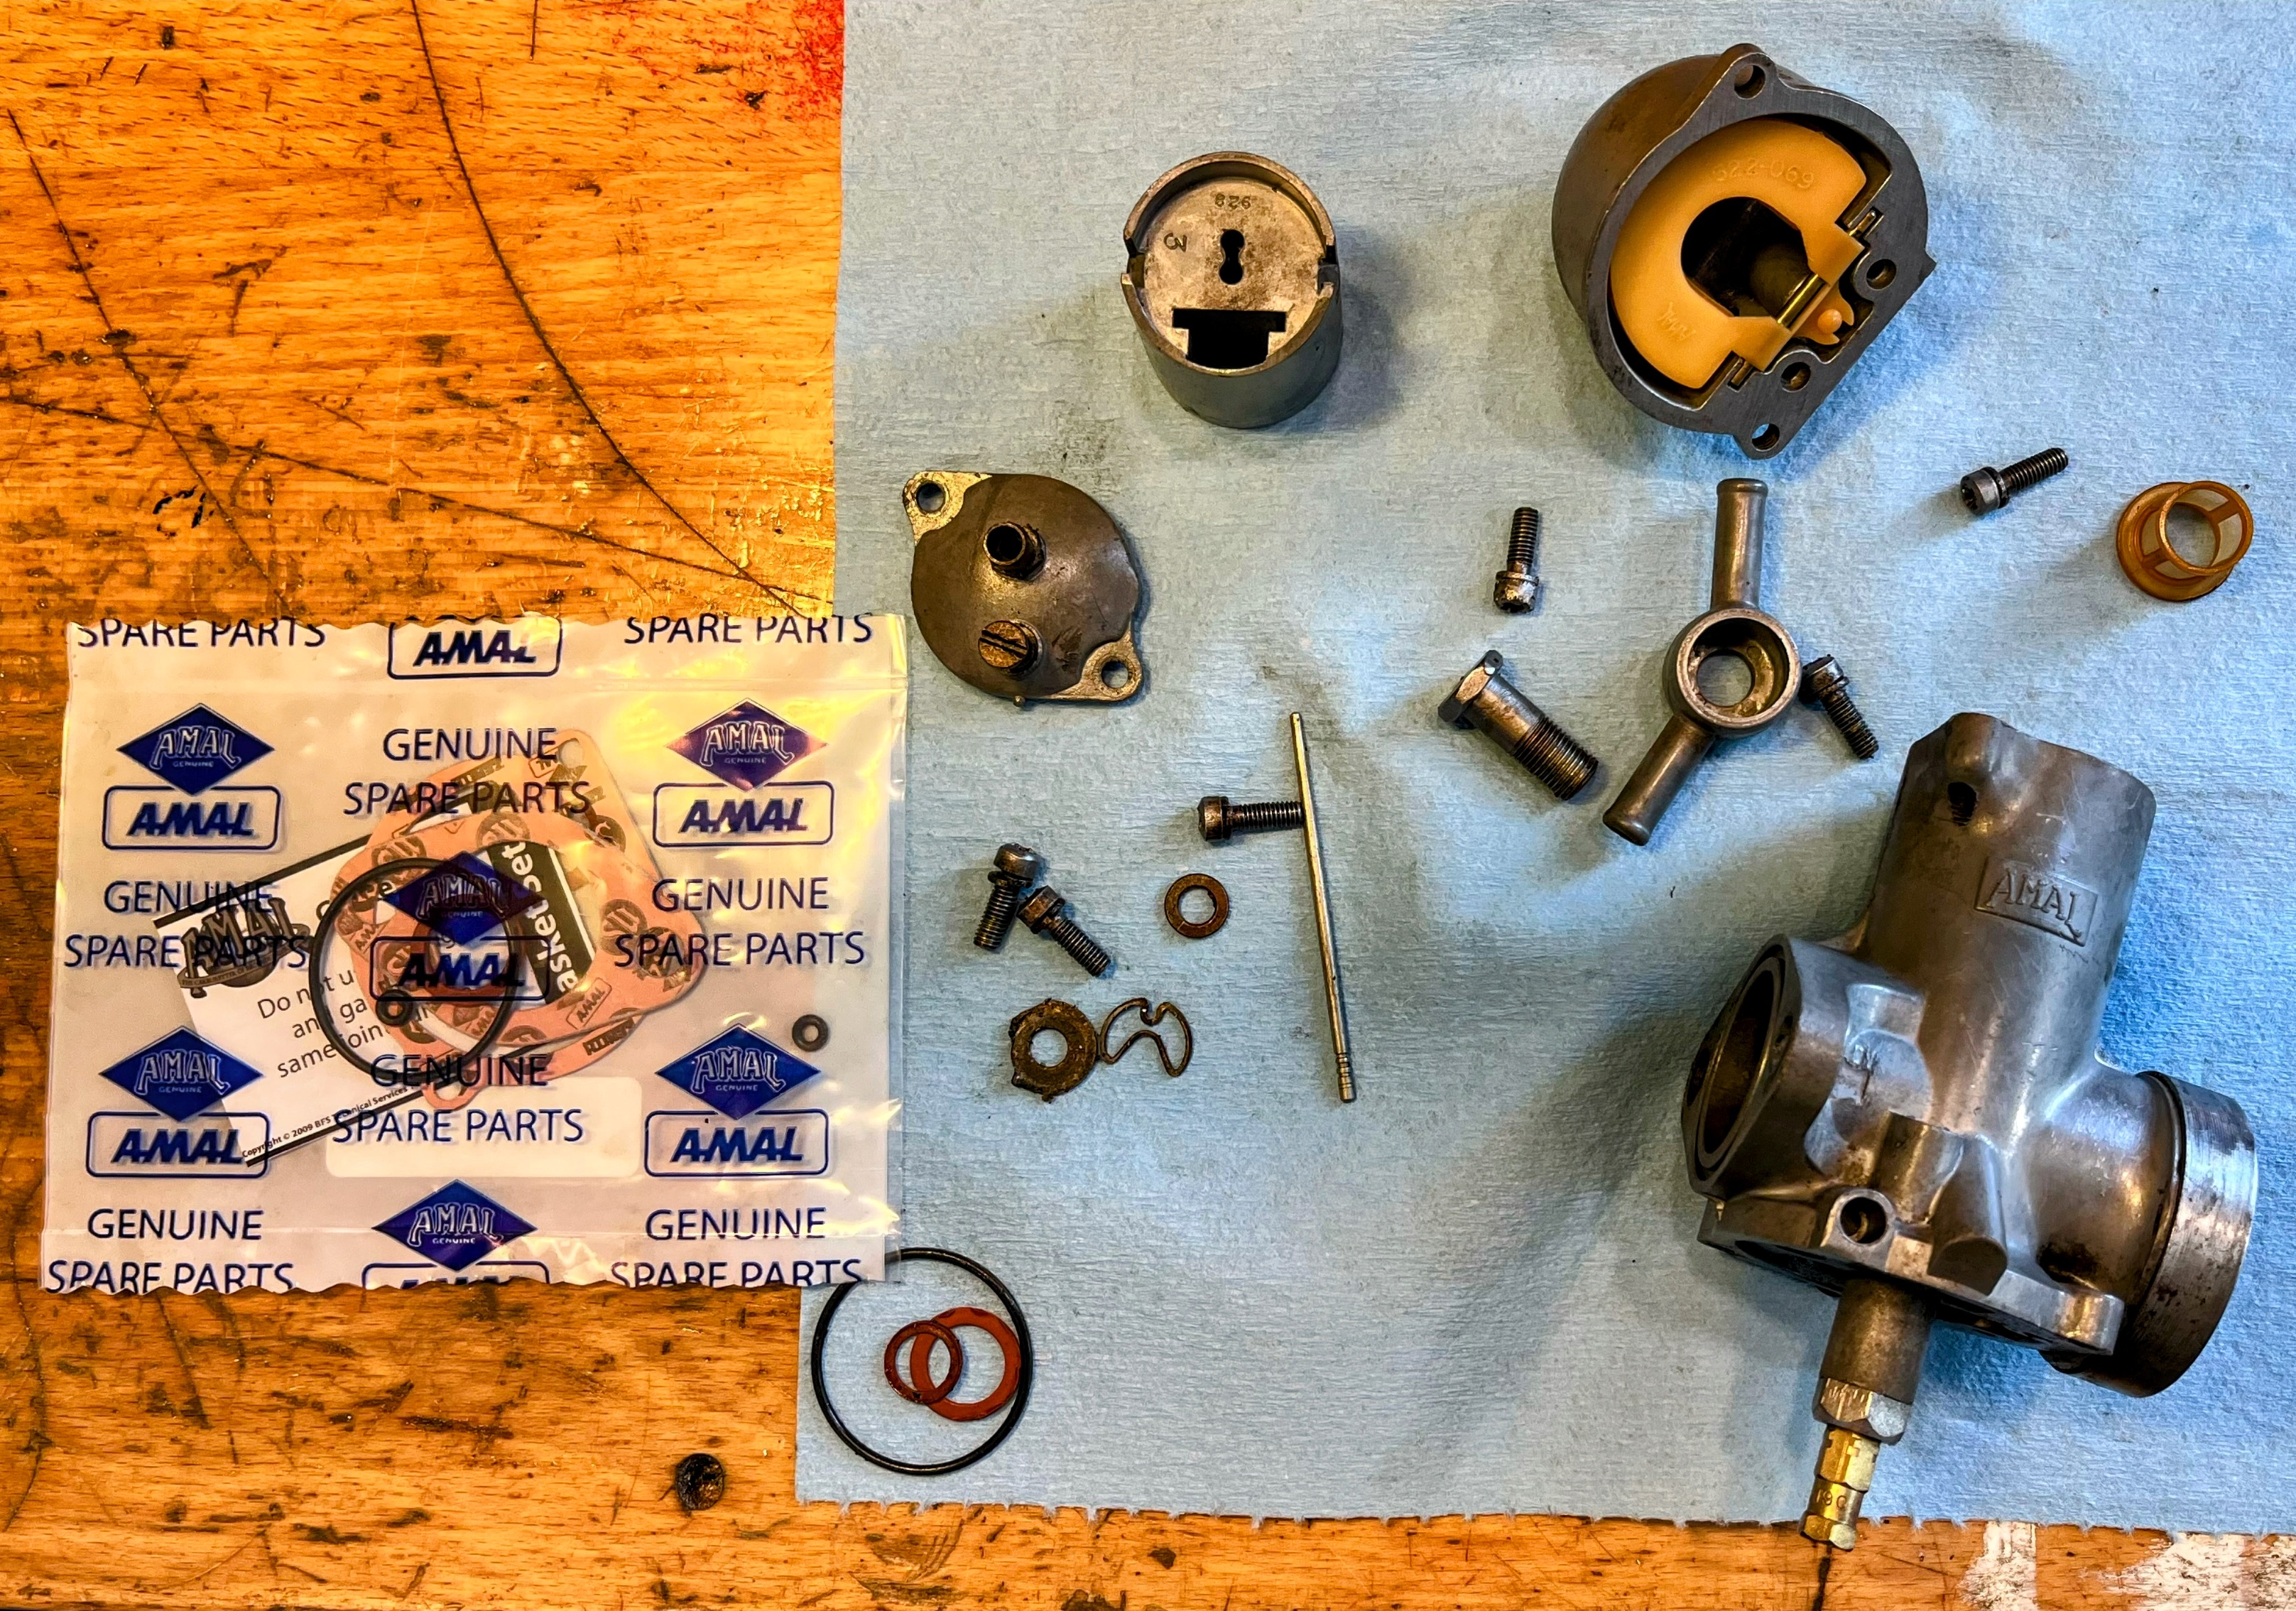
How simple can you make a carburettor? These old Amals are pretty close to first principles. The combination of archaeology and simple mechanics is very appealing when everything else I ride carries a computer and my day job is all about them - it's nice to be fully analog!

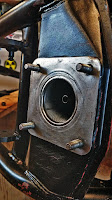
I'd broken down the carbs in the fall and left them packaged in a segmented toolbox. Putting them back together was problem free and the kits I got from Britcycle replaced all the gaskets and rubber grommets in them. The old rubber bits were really showing their age.


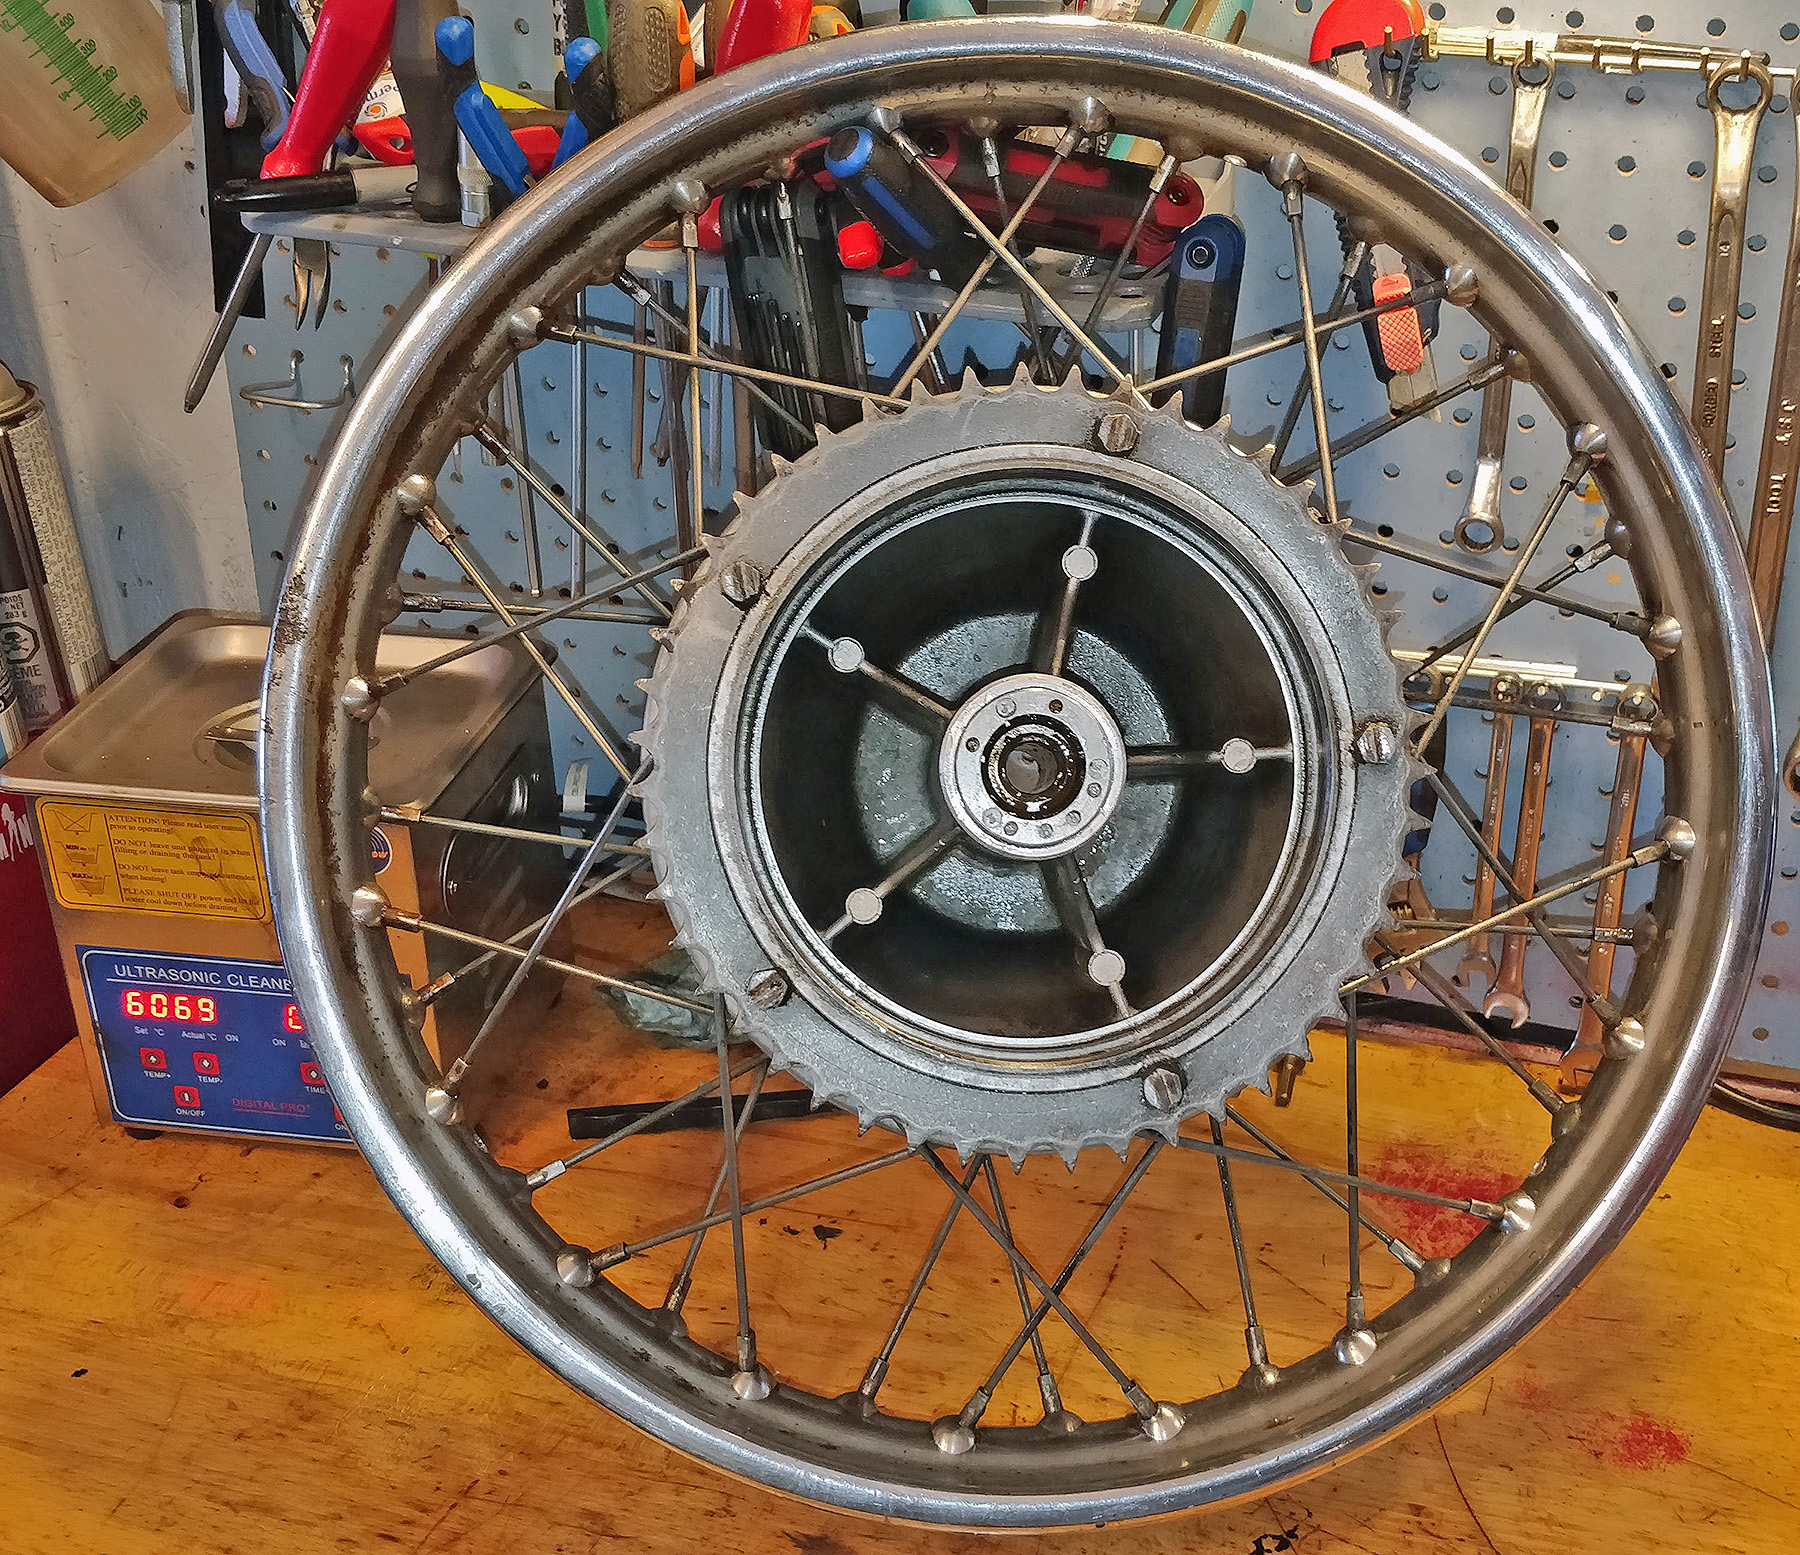
Guess which one is the 50 year old ring (I;m assuming they're original)?


Just need some bolts (at $3.50US a pop)

If money and time were no object I'd dig deeper into this vintage resto thing - I dig the mechanical simplicity and I enjoy seeing how mechanical evolution happens over time. As a hobby in retirement, it has great appeal, but I'm some years away from that much free time on my hands.

I'll see this one through and then refocus on the SPQR-WRO (small profit, quick return - with riding opportunities) side of it where the costs and time commitments aren't quite so demanding.


Sunday 15 May 2022

Forging Moto-Maker Spaces

As a family we attended a blacksmithing day at Happy Knife Forge last weekend.  Highly recommended, it's money well spent.  Jason will not only show you the basics, but is keen to get you up and running as a blacksmith.  My granddad was a coal merchant back in the old country and the smell of coke burning on the forge prompted a sense memory from the crib; it smelled like home.

I've ruminated on fabrication and micro-manufacturing on TMD before from a digital perspective using the latest techniques.  Given the space and tools I'd quite happily spend my time designing and creating using everything from medieval blacksmithing through 20th Century metal working and on into 21st Century digital manufacturing techniques.  Connecting these processes separated by time but with the same intent would produce some genuinely interesting and bespoke combinations.

I've had the itch to get back into welding for some time, but a lack of space and gear means I'm not while I'm where I'm at.  The blacksmithing experience has me wanting to expand my metal working beyond just welding, which means even more space and kit getting added to the wish list.  You can do a lot in a tight space, and I am, but when it comes to storing the chemicals and managing the heat in some of these processes, there is no substitute for space.


A property with an old industrial building on
it would make for a fantastic restoration
leading to a multi-millenial foundry covering
everything from blacksmithing to digital design!
Given the time and resources I'd hit an intensive welding program, then set up my multi-millenial forge/shop/maker space with everything from blacksmithing tools through metal working and mechanical to 21st Century 3d scanning, digital modelling and printing.  The forge would be in the corner of a repurposed, old brick building that also includes space for metalwork, all very fireproof.  Across the floor in the same open concept.would be space for a paint booth/shot blasting station and plenty of mechanical workspace.  Upstairs (open concept, with just a railing) would be digital design and manufacturing in a cleaner workspace.  If I could walk out to that every morning to create, restore and repair, I'd hardly care if there were pandemics or anything else.  Put it near some good riding roads (ie: not in Southern Ontario), and it'd be just about perfect.


I've been thinking about a digital workshop for a while now, but the blacksmithing experience has me thinking old school as well.

The future-garage scene in Big Hero 6 gets the digital side of it right.


Dream Shop Links:

https://www.architecturaldesigns.com/house-plans/3-car-modern-carriage-house-plan-with-sun-deck-68541vr

https://www.coolhouseplans.com/plan-90821

https://www.towersteelbuildings.com/building-styles/garages/

https://www.olympiasteelbuildings.ca/garages/

https://canadianmetalbuildings.com/metal-buildings/cmb-ready-built/

https://tkmotorcyclediaries.blogspot.com/2013/07/the-stable.html

https://tkmotorcyclediaries.blogspot.com/2015/11/iihtm-digital-workshop.html

https://tkmotorcyclediaries.blogspot.com/2015/04/space-limitations.html

https://tkmotorcyclediaries.blogspot.com/2015/08/a-mclaren-p1-or-motorcycle-nirvana.html

https://tkmotorcyclediaries.blogspot.com/2020/10/diy-garage-expansion-plans.html

Forging Links:

https://canadianforge.com/products/l-brand-forge-coke

https://www.thecrucible.org/guides/blacksmithing/blacksmithing-forge/

Welding links

https://www.popularmechanics.com/home/tools/how-to/a15739/how-to-get-started-with-welding/

https://www.weldtechtraining.com/welding-courses/individual-welding-courses-certification-canada/

https://www.esab.ca/ca/en/rogue/index.cfm

https://canadaweldingsupply.ca/products/esab-rebel-emp-205ic-ac-dc?variant=14036287946796

https://canadaweldingsupply.ca/

Used Options:


Metal Working Tool Links

https://www.amazon.ca/Solary-Magnetic-Induction-Flameless-Automotive/dp/B08XTHTMZP

https://canadaweldingsupply.ca/products/metabo-5-variable-speed-rat-tail-angle-grinder

Digital Manufacturing Links

https://3dprintingindustry.com/news/car-sos-tv-show-uses-3d-printing-and-scanning-to-restore-classic-car-195222/


https://www.javelin-tech.com/3d/artec-3d-scanner-price/


Sunday 10 April 2022

1971 Triumph Bonneville T120 Sensible Bodywork Bolt Replacements

I'm in the process or stripping the last bits of hardware from the frame and bodywork in order to clean up and paint the frame and bodywork on the 51 year old Bonneville project bike.  The bolts holding the licence plate holder onto the rear fender were 4 different sizes with the longest ones protruding so far toward the wheel that they'd be a safety hazzard on a big bump (the tire would make contact with them on full suspension compression, especially with me on it).

I was talking to a friend online who made a career out of flying helicopters for the military and he said he's found wrong sized hardware in controls that have actually jeopardized flight safety.  One of the rhings I enjoy about motorcycle mechanics is that it feels closer to aviation than four wheel appliance repair where an error like this might cause you inconvenience as you roll to a stop on the side of the road.  If you're up in the air or out on a bike and you have a catasrophic mechanical failure, it's a very different consequence.

Another pilot friend (the perils of being an air cadet), when we were going up for a flight in a Cessna, brought it back around and landed when the engine didn't feel right.  Everyone was impatient at the delay, but he said something that is simply true that many people don't consider when their flight is delayed:  "it's better to be down here wishing you were up there, than being up there wishing you were down here."  It's a shame more people who work on bikes don't think the same way.  I've seen even professional work that was half assed to save time/money.  Incompetence like that puts a rider's life at risk needlessly.  It can end up costing you far more than you saved.

Pretty sure that last one isn't a stock Triumph bolt.  These'll all get replaced with metric bolts because they're easier to find, but they'll be the right length, matching and be staineless steel.

The 14-0101 bolts used to fasten the fenders on the '71 Bonneville are 1/4" X 1/2" X 28 UNF, which are a bugger to try and find a match for.  The longest bolt on the bike was an inch and a half - way too long for where it was.  Working with SAE/imperial sizes on this bike makes it a real pain to match hardware out of what I have on hand, but stuffing a bolt that long onto a bike where it can interfere with the wheel isn't sensible.
SAE Wrench SizeBolt Size (SI)Metric Wrench Size
5/16″1/8″8 mm
3/8″3/16″10 mm
7/16″1/4″11 mm
1/2″5/16″13 mm
9/16″3/8″14 mm
5/8″7/16″16 mm
3/4″1/2″19 mm
13/16″9/16″21 mm
7/8″9/16″22 mm
15/16″5/8″24 mm

1/4" bolts can be replaced with an 11mm metric option and finding stainless steel versions of these are easy.  I can also get four matching that are the correct length for the job at hand rather than bunging whatever I have in the toolbox onto the bike.  Compared to other costs in this restoration, hardware costs are trivial (for under $40CAD I can get a 900+ piece kit).  When I'm dropping $600+ on a new head, spending a bit on properly sized bolts seems like a no-brainer.

Of course, body panel fasteners are a different proposition to what you put into a motor or transimssion - in those cases I'd always use stock pieces to manage the heat and pressures involved as decided by the engineers to designed the thing, but for bodywork there is a bit more latitude, you just don't want to be a pratt about it.

While sorting the
frame I've cleaned
up the oil in frame
drain system.
The Amazon bolt set arrived in less than 24 hours.  It is (of course) snowing today in mid-April in Canada, so moving the other bikes out of the garage to paint things isn't likely, and I can't paint outside if it's snowing.  You need 10°-30°C temperatures, no direcf sunlight and good ventilation.  If I can get the other bikes out of the garage, open the door a foot and run the fan, I might be able to retain enough heat to do it, but Canada's 'spring time' isn't helping things along.

If had a wee outdoor shed I'd use it as a paint booth, heating it to the required temperature and then having a fan to move the overspray out.  This DIY paintbooth would be a thing if I had a larger workshop, but a shed outside is a real possibility.  It could provide storage, freeing up space in the garage, but with some crafty ventilation it'd also be a paintbooth.  If I don't get to painting today, I can at least finish prepping the frame and body panels and hope for warmer temperatures later in the week.

New tires and innertubes are on hand.  The frame is being prepped.
I've still got some other body panels to clean and prep for painting.


Monday 28 March 2022

1971 Triumph Bonneville: More Bike Archeology from Tires, Wheel Restoration & Rear Brakes

I got the rear tire off the rim today in the ongoing '71 Bonneville project during a late March snowstorm. It had a Lien Shin tire on it. I'm unfamiliar with that brand and I can't find a heat pressed time stamp on it. Tires produced before the year 2000 use a 3 digit code that makes it difficult to determine which decade they were made in (first two digits are month of manufacture, last digit is the year). Tires after 2000 use a four digit code (week # of manufacture followed by a the last two digits of the year, ie: 0501 would be the fifth week of 2001).  A 511 would be the 51st week (December) of a year ending in 1, ie: 1981, 1991.

While I couldn't find a stamped date on the Lien Shin tire, there is a three digit date stamp on the Inoue front tire: 511.  Based on the bike's last sticker on the SATAN license plate ('84), this probably dates the front tire to the 51st week (December) of 1981.  I was 12 when this tire was manufactured.  I'm still amazed that it works at all and the inner tube holds pressure.

Taking a tire this old and stiff off was tricky, but as with the TIger tire change last year, a judicious application of heat really helps soften the rubber and makes removal easier, especially in the winter.  It was -17°C outside so I put the shop heater next to the tire and let it warm up, then removing it with the irons was pretty easy.


Once I had the old rubber out of the way, I went at the rim with a wire brush and it cleaned off the surface rust well.  Some SOS soap pads and then a bout with the pressure washer out in the snow storm and the rim came up nicely.


Next time I have some time and space I'll get the front tire removed and prep that too, then it'll be time to order some wheel hardware (bearings and brake pads).  With the wheels rebuild, I'll clean up the frame and repaint it and then it's time to start putting the rolling chassis back together.

While I had the wheels off I took the rear brake apart.  I keep being surprised by how simple this bike is.  The rear brake is a mechanical mechanism, no hydraulics in sight.  You press on that big brake lever (it's big because you need the mechanical advantage for it to work) and that pulls the rod connected to a spinner on the top of the rear brake drum.  The drum spins and applies the brake.  When you let go, a spring on the drum spinner disengages the brake.  You must get pretty good feel out of a direct mechanical system like this, and you're not carrying any extra weight from a hydraulic system (fluid container, piston, pipes, caliper cylinders, etc), but I bet you've gotta have big calves to lock it up.


I'm back at work this week so it might be a few days before I take another swing at it, but it's exciting to get to the point where the bike is enough pieces that I can see how it'll go back together again.

Sunday 27 March 2022

1971 Triumph Bonneville Restoration Project: Frame Breakdown & Rear Brakes

I'd initially planned to do a rolling restoration of the 1971 Triumph Bonneville project, but the state of the engine and my desire to get it back to a place where I can enjoy an updated, dependable but mechanically sympathetic restoration (I want the bike to retain its patina, but I also want it to be dependable) made a rolling restoration impractical.  The engine is lined up for a new 750cc head and electronic ignition system, but before all of that I have to get the frame and wheels sorted out so that I can put the upgraded engine back into a sorted rolling chassis.

To that end, it was finally time to take it to pieces, which also gave me a lot of space back in the one car garage once the bike stand was stacked to the side:

The frame out means I don't need to fill half the garage with the bike stand.

Black rubber bands cover the frame to swingarm joints (to prevent water getting in?).

Way more space in the garage with the Bonnie in pieces.

With the bike in pieces, I'm restoring all parts that I can reuse.  This usually involves some WD40, a toothbrush or wire brush depending on how filthy it is, and then a dip in a hot ultrasonic bath for small pieces to get them back to fresh.

The front wheel Smiths speedometer.

Into the rear brakes. Like everything else on this old bike they are much simpler than modern hydraulic brakes.

Bringing old parts back from the brink is very satisfying.

The entire rear brake system - the brake lever is so long because it is the only mechanical advantage you have when applying the rear brakes.  Instead of using hydraulics to amplify your push on the pedal, the old Bonnie is a simple mechanical system.  You press the brake lever which pulls that long metal bar which rotates the top of the drums, pressing them into outside of the drum.  No hydraulics, and I bet you have to press that lever like you mean it to lock the rear wheel.