Showing posts sorted by relevance for query 1971 Bonneville. Sort by date Show all posts

Sunday 4 September 2022

Baffling 1970s British Wheel Engineering

I had a go at mounting new tires on the 1971 Bonneville project rims today, and what a pain in that ass that has turned into.  The rear tire is a mess of strange engineering decisions, including 3 holes for the inner tube valve, two of which are filled with rubber/metal pads with valve stem sized bolts sticking out of them.  Why they would do this is beyond me.  It creates a needlessly heavy wheel just where you don't want it (where centrifugal force amplifies it at the rim when it spins).  Perhaps it has something to do with the spokes and creating a true (round) wheel by adding weight?  The rear tire went on easily enough, but the inner tube was a pain to get the valve in place and it doesn't seem to be taking air.  I'll have to take that apart again and figure out what the hell is going on.

Also in bizarro British '70s engineering world, the front wheel has the valve stem hole drilled in the worst possible location, right near two spokes, which makes putting the compressor's tire inflation nozzle on it impossible.  There are spaces all around the rim where the hole could have been drilled to allow for easier access, but the Meriden Triumph 'technician' threw it in there.  If there is an engineering reason for it, it's beyond me.  Putting the hole in the space between more distant spokes shouldn't hurt the durability, but they didn't do that.

I've done inner tubes and tires for my modern Triumph Tiger recently, and just did a tubeless tire on the Kawasaki (complete with tire sensor hack), so this shouldn't have been the faff that it has turned into.  I ended up leaving both rims sitting in the garage.  I'll come back to it another day when I'm less frustrated by it.

Period tires from Revco look good on the rims, but the rear won't take air and I can't get any into the front.  Damn it.

Here's some old Triumph 'character' and a bit of moto philosophy to remind me why I'm doing this...

Wednesday 16 March 2022

1971 Oil In Frame Triumph Bonneville Restoration: Tire Choices


The old Bonneville needs new tires and inner tubes so I'm wrapping my head around olde fashioned, pre-metric motor-bike tyre sizes.

Those would be the Dunlop K70s that came with the Bonnieville back in the day.
Fortunately Dunlop is still looking after the bike they designed the tire for.


The '71 Triumph Bonneville came with 3.25 X 19″ front & 4.00 X 18″ rears and used Dunlop K70 tires as standard equipment.

It looks like there are modern Dunlop options for vintage SAE (non-metric) wheels at Revco where I've gotten my last two sets of tires.  The handy chart below shows metric and imperial conversions but after some digging I was able to find SAE/pre-metric modern Dunlop K70s that are the exact fit for the bike.  Using recent versions of original equipment that give me the benefit of modern rubber durability and grip while still keeping close to the originally engineering intent in Triumph's tire choice is fantastic.  I'm not trying to recreate riding in 1971, I'm trying to start with that technology and update where prudent for 21st Century use.


  Tire Charts                               Motorcycle Street Tire Size Conversion Charts

Metric

80/90

90/90

100/90

110/90

120/90

130/90

140/90


Alphanumeric

- NA-

MH 90

MJ 90

  ML 90

MN90/MP90/MR 90

MT 90

MU 90


Inch-(Series90)

2.75

3.00/3.25

  3.25

3.50

4.00/4.25

5.0

- NA-


Inch-(Series82)

- NA-

- NA-

3.60

4.10

4.25/82/4.40

5.10

- NA-


Front Tires:

Metric

80/90

90/90

100/90

110/90

120/80

120/90

130/90

Alpha

MH90

MJ90

MM90

MN90

- NA-

MR90

MT90

Inch

2.50/2.75

2.75/3.00

3.25/3.50

3.75/4.00

4.25/4.50

4.25/4.50

5.00/5.10


Rear Tires:

Metric

110/90

120/90

130/80

130/90

140/80

140/90

150/80

150/90

160/80

180/55

200/60

230/50

Alpha

MP85

MR90

- NA-

MT90

- NA-

MU90

MV85

MV85

- NA-

- NA-

- NA-

- NA-

Inch

4.50/4.75

4.50/4.75

5.00/5.10

5.00/5.10

5.50/6.00

5.50/6.00

6.00/6.25

6.00/6.25

6.80/7.00

7.00/7.25

7.90/8.00

9.50


Size

120/80V16

130/90H16

130/90V16

500S16

MT90H16 3.00

130/90H16 3.00

140/90H16

140/80VB16

140/90H16

150/80V16

160/80H16

160/80H16

200/60VB16

120/80V18

120/90V18

120/90H16

130/80V18

130/70VB18

150/70VB18

140/70V18

170/60VB18

180/55VB18

230/50 X 15

Rim

2.75

3.00

3.00

3.00

3.00

3.00

3.50

3.50

3.50

3.50

4.00

4.00

5.50

2.75

2.75

2.75

3.00

3.50

4.00

4.00

4.50

5.50

7.00 to 8.00

Overall Width

4.7

5.00

5.2

5.2

5.3

5.4

5.8

5.9

6.0

6.2

6.4

6.8

7.9

4.8

4.8

4.9

5.2

5.4

5.9

6.1

6.9

7.0

9.5

Overall Diameter

23.8

25.4

25.0

26.4

25.3

25.6

25.6

24.8

25.8

25.4

26.1

26.1

25.9

25.9

26.4

26.3

26.3

25.4

26.2

25.7

26.0

26.3

25.3

Note: Measurements are based on the given rim widths. A rough rule of thumb: Each additional 1/2-inch of rim width will be approximately 1/4-inch more in each tire width.


The K70s at Revco are just over a hundred bucks a pop and Counteract Balance Beaded inner tubes are actually cheaper than name brand plain old rubber inner tubes. I've been using the Counteract beads for years to great effect so they'd be my first choice even if they weren't cheaper. All in I'm looking at about $320CAN ($250USD) for new rubber for this vintage restoration project, which considering the price of some of the other parts is pretty reasonable.

In order to rebuild the wheels I'll need to replace the bearings and clean up the brakes before putting new pads and hydraulic brake cylinders back in them. All that and getting the frame sorted out will get me back to a correct rolling chassis ready for the upgraded engine.

Somewhere at the end of all of this will be a road worthy '71 Triumph Bonneville, but it's a lot of parts to find and get in and then a lot time in the garage to get there. I'm hoping it'll be on the road for next year's riding season.  As we thaw out here in Canada I'll be out on the Tiger and GTR and not spannering so much.

Meanwhile, here are some more motorcycle tire sizing reference charts found on the interwebs:


Sunday 10 April 2022

1971 Triumph Bonneville T120 Sensible Bodywork Bolt Replacements

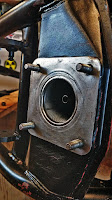
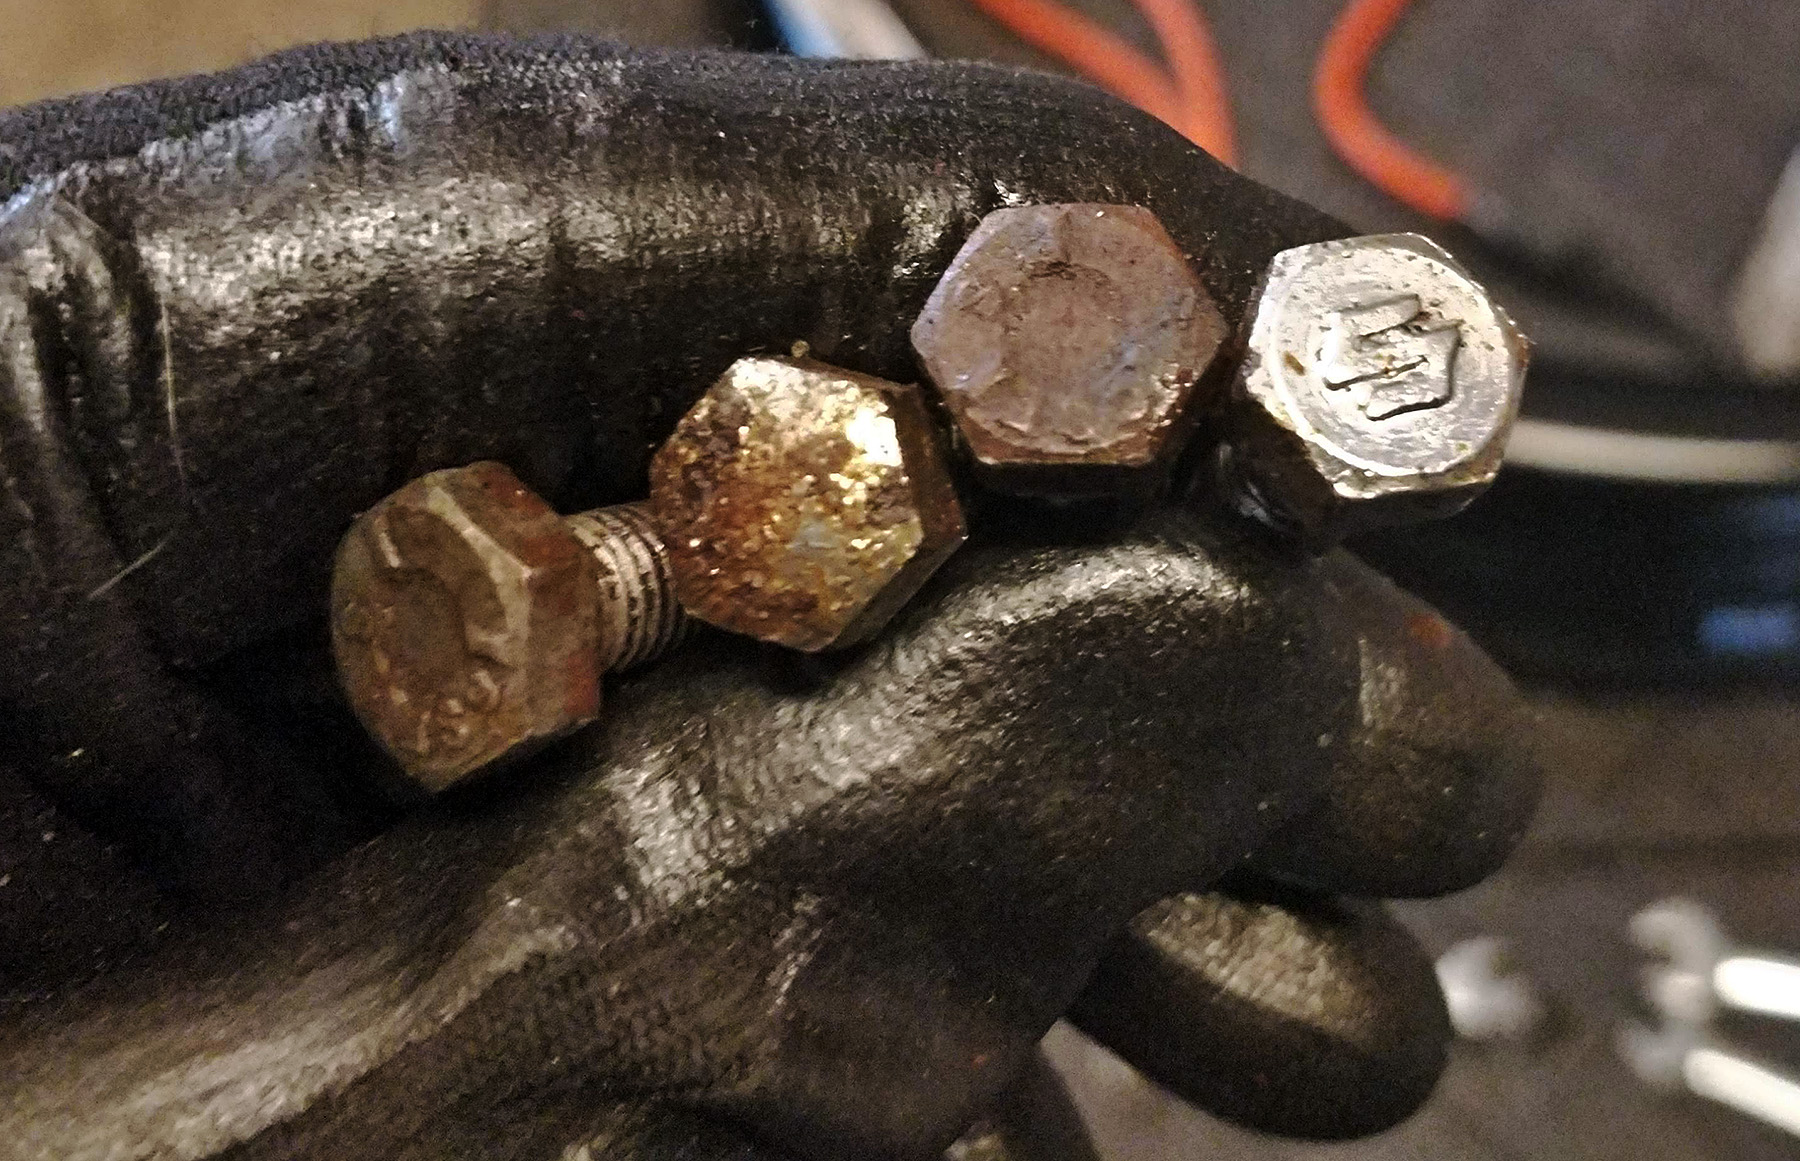
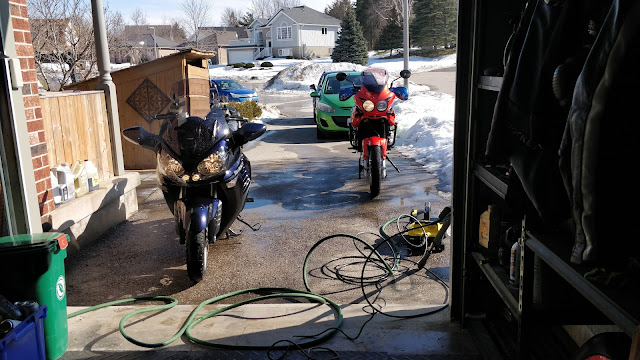
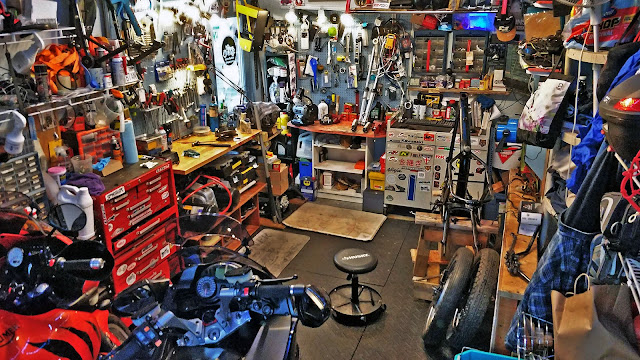
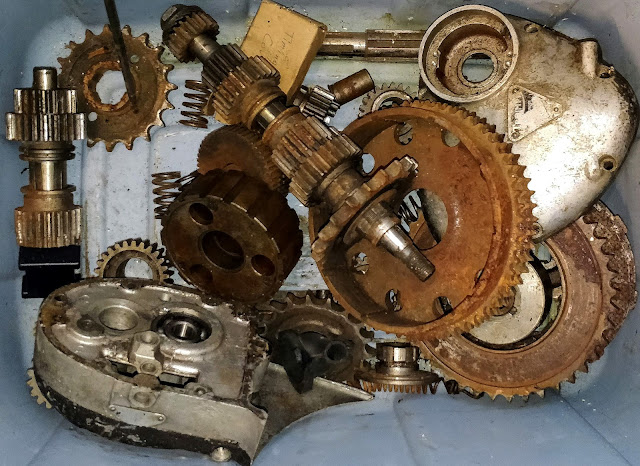
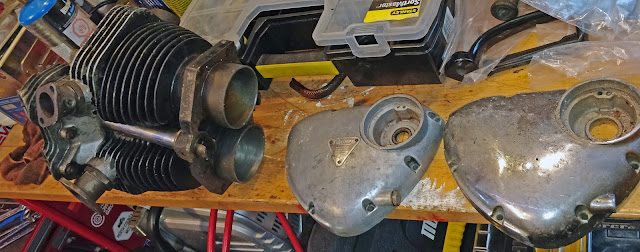
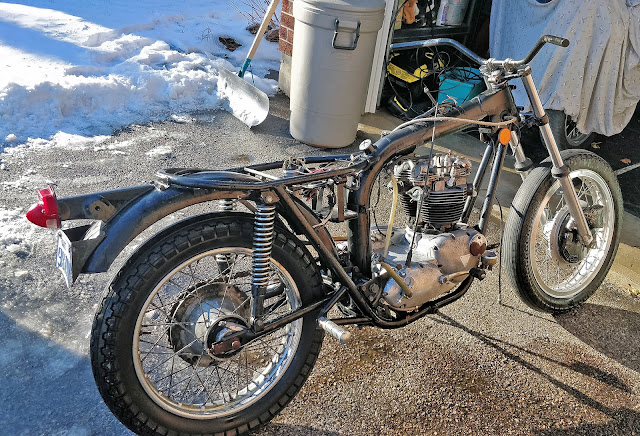
I'm in the process or stripping the last bits of hardware from the frame and bodywork in order to clean up and paint the frame and bodywork on the 51 year old Bonneville project bike.  The bolts holding the licence plate holder onto the rear fender were 4 different sizes with the longest ones protruding so far toward the wheel that they'd be a safety hazzard on a big bump (the tire would make contact with them on full suspension compression, especially with me on it).

I was talking to a friend online who made a career out of flying helicopters for the military and he said he's found wrong sized hardware in controls that have actually jeopardized flight safety.  One of the rhings I enjoy about motorcycle mechanics is that it feels closer to aviation than four wheel appliance repair where an error like this might cause you inconvenience as you roll to a stop on the side of the road.  If you're up in the air or out on a bike and you have a catasrophic mechanical failure, it's a very different consequence.

Another pilot friend (the perils of being an air cadet), when we were going up for a flight in a Cessna, brought it back around and landed when the engine didn't feel right.  Everyone was impatient at the delay, but he said something that is simply true that many people don't consider when their flight is delayed:  "it's better to be down here wishing you were up there, than being up there wishing you were down here."  It's a shame more people who work on bikes don't think the same way.  I've seen even professional work that was half assed to save time/money.  Incompetence like that puts a rider's life at risk needlessly.  It can end up costing you far more than you saved.

Pretty sure that last one isn't a stock Triumph bolt.  These'll all get replaced with metric bolts because they're easier to find, but they'll be the right length, matching and be staineless steel.

The 14-0101 bolts used to fasten the fenders on the '71 Bonneville are 1/4" X 1/2" X 28 UNF, which are a bugger to try and find a match for.  The longest bolt on the bike was an inch and a half - way too long for where it was.  Working with SAE/imperial sizes on this bike makes it a real pain to match hardware out of what I have on hand, but stuffing a bolt that long onto a bike where it can interfere with the wheel isn't sensible.
SAE Wrench SizeBolt Size (SI)Metric Wrench Size
5/16″1/8″8 mm
3/8″3/16″10 mm
7/16″1/4″11 mm
1/2″5/16″13 mm
9/16″3/8″14 mm
5/8″7/16″16 mm
3/4″1/2″19 mm
13/16″9/16″21 mm
7/8″9/16″22 mm
15/16″5/8″24 mm

1/4" bolts can be replaced with an 11mm metric option and finding stainless steel versions of these are easy.  I can also get four matching that are the correct length for the job at hand rather than bunging whatever I have in the toolbox onto the bike.  Compared to other costs in this restoration, hardware costs are trivial (for under $40CAD I can get a 900+ piece kit).  When I'm dropping $600+ on a new head, spending a bit on properly sized bolts seems like a no-brainer.

Of course, body panel fasteners are a different proposition to what you put into a motor or transimssion - in those cases I'd always use stock pieces to manage the heat and pressures involved as decided by the engineers to designed the thing, but for bodywork there is a bit more latitude, you just don't want to be a pratt about it.
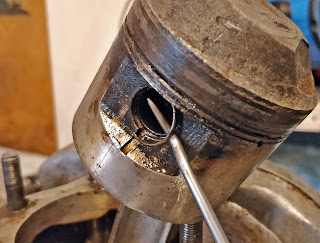
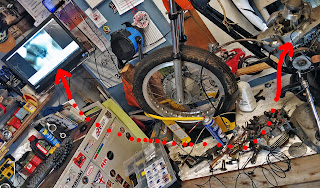
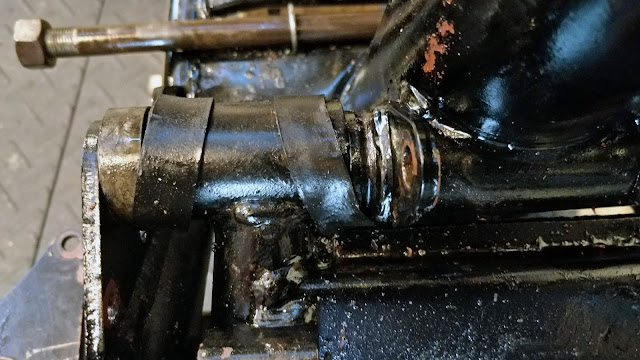
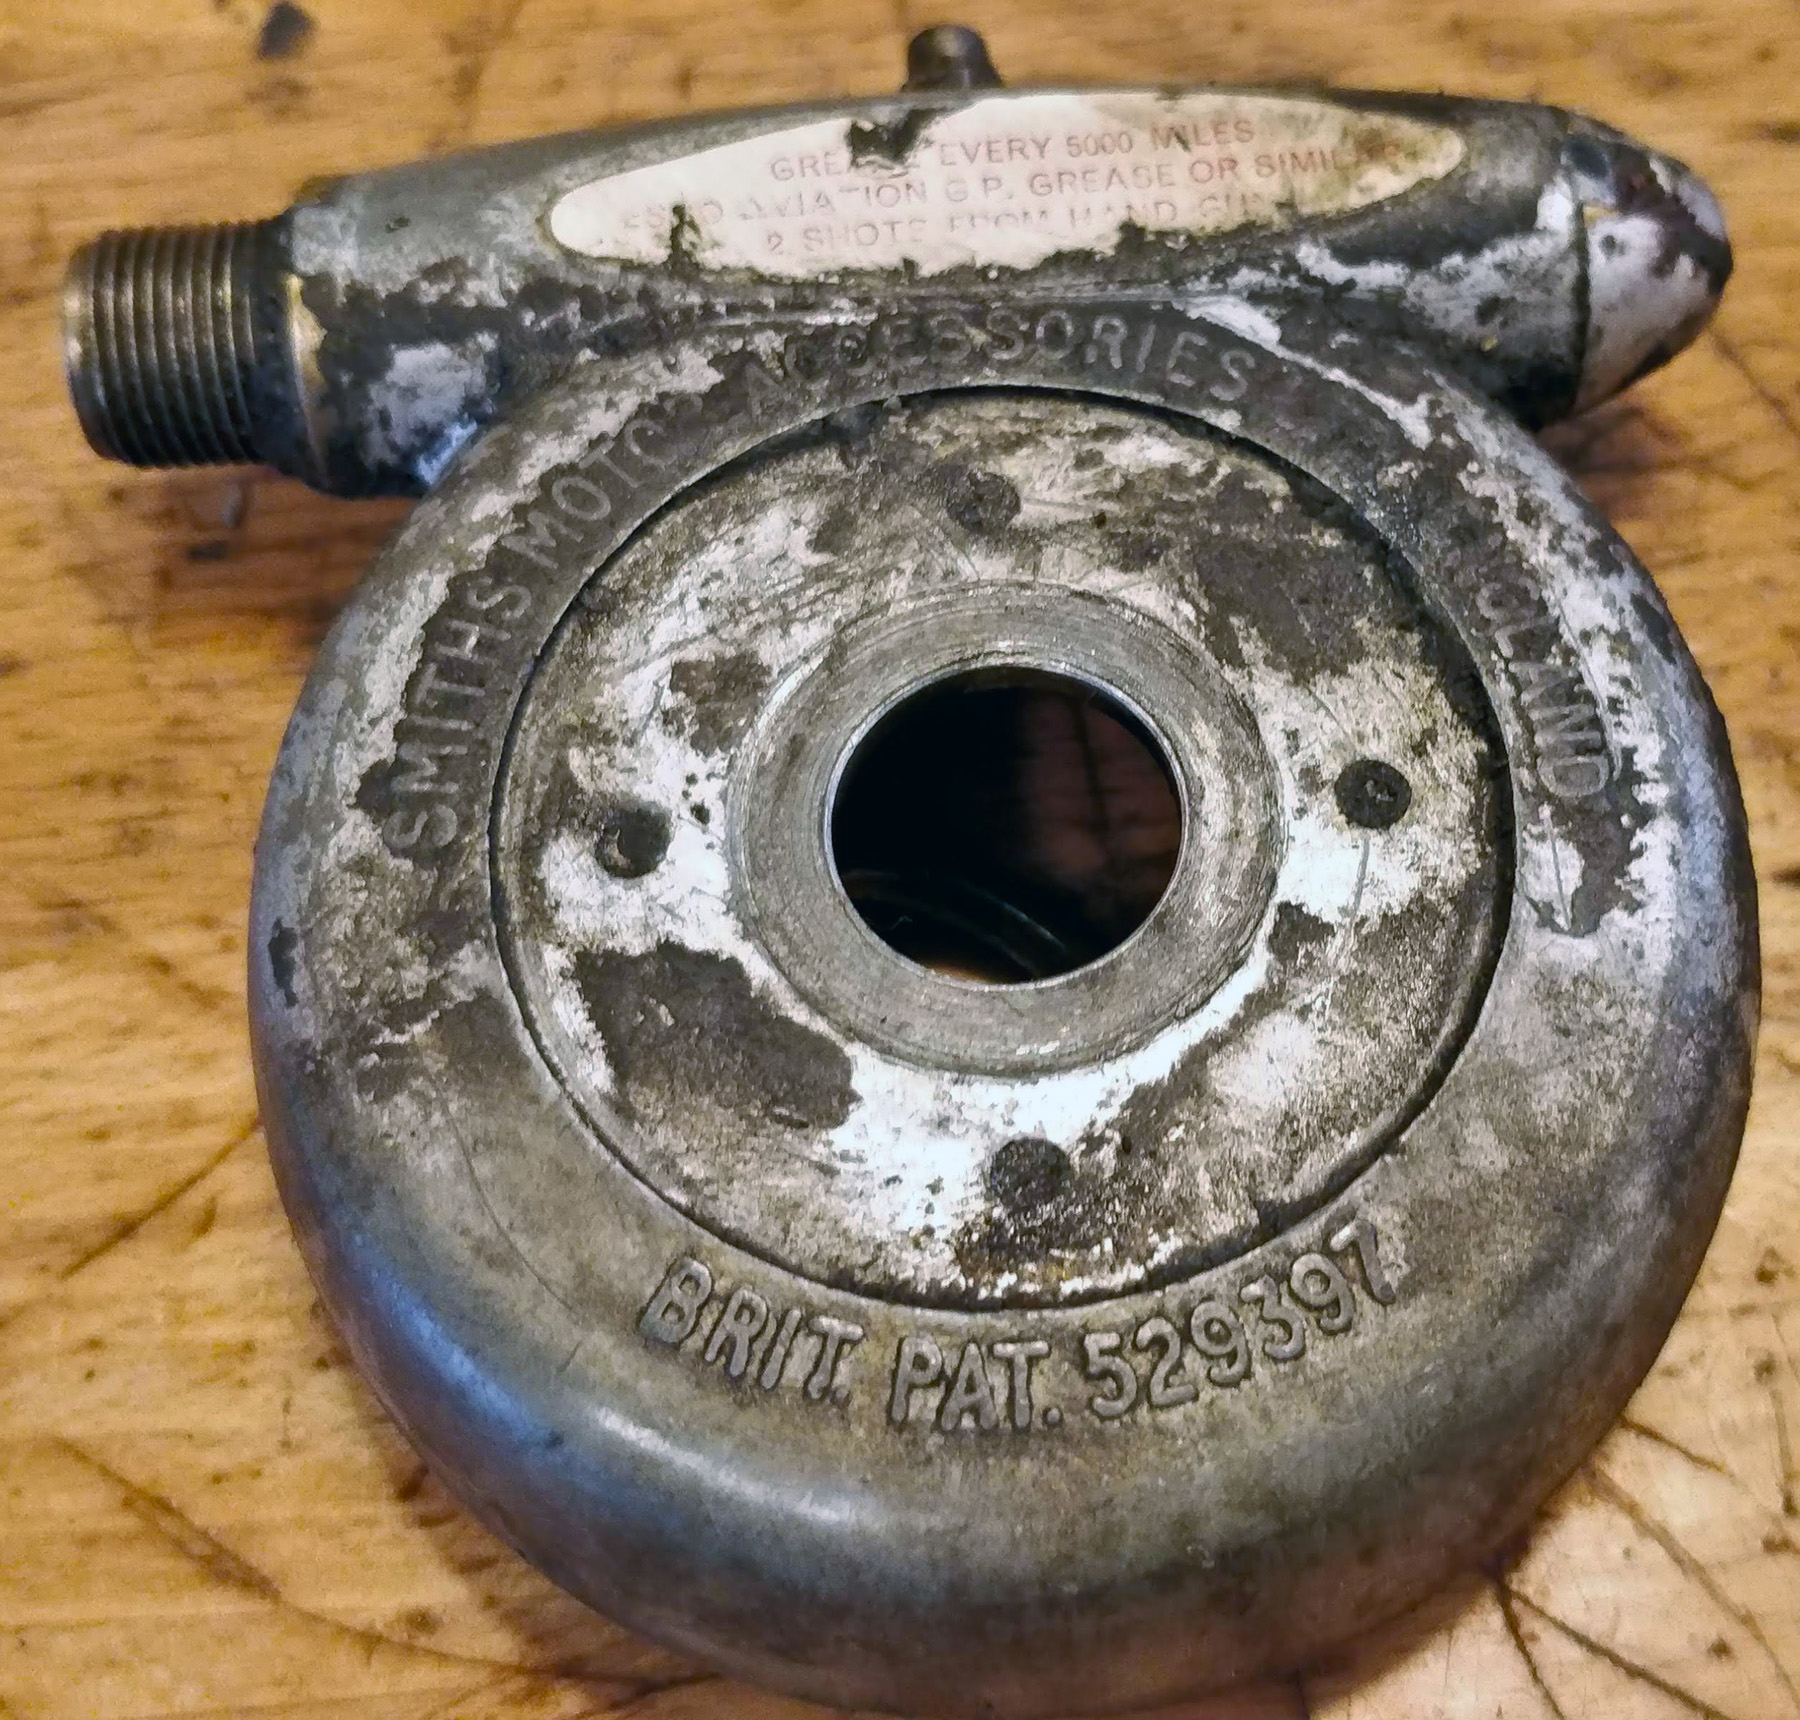
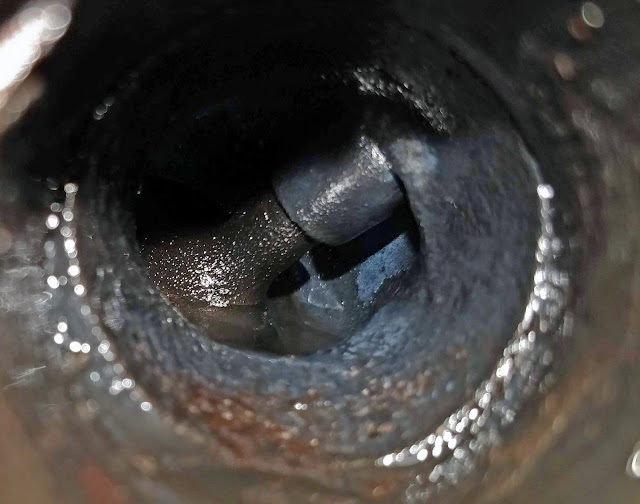
While sorting the
frame I've cleaned
up the oil in frame
drain system.
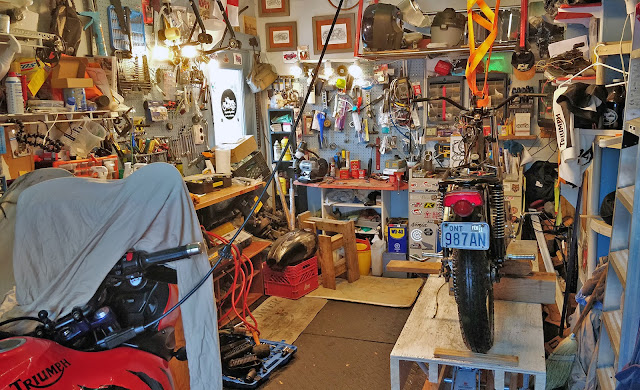
The Amazon bolt set arrived in less than 24 hours.  It is (of course) snowing today in mid-April in Canada, so moving the other bikes out of the garage to paint things isn't likely, and I can't paint outside if it's snowing.  You need 10°-30°C temperatures, no direcf sunlight and good ventilation.  If I can get the other bikes out of the garage, open the door a foot and run the fan, I might be able to retain enough heat to do it, but Canada's 'spring time' isn't helping things along.

If had a wee outdoor shed I'd use it as a paint booth, heating it to the required temperature and then having a fan to move the overspray out.  This DIY paintbooth would be a thing if I had a larger workshop, but a shed outside is a real possibility.  It could provide storage, freeing up space in the garage, but with some crafty ventilation it'd also be a paintbooth.  If I don't get to painting today, I can at least finish prepping the frame and body panels and hope for warmer temperatures later in the week.

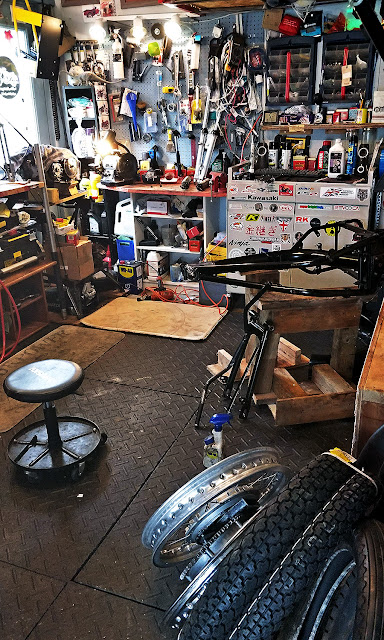
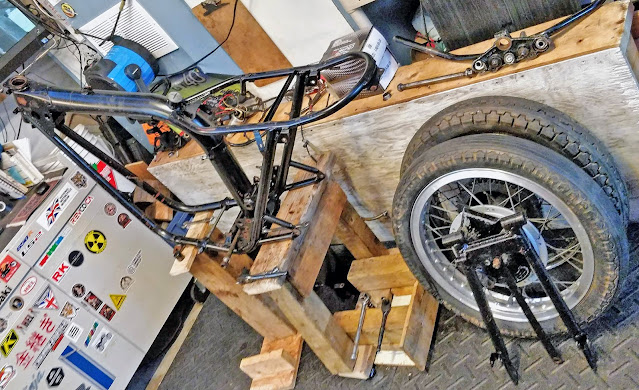
New tires and innertubes are on hand.  The frame is being prepped.
I've still got some other body panels to clean and prep for painting.


Tuesday 8 March 2022

1971 Triumph Bonneville Restoration: Gudgeons, Johnson Rods & Cylinders out! (oh my)

I've got a degree in English, but working on the old Bonneville is stressing out even my vocabulary:

That'd be your gudgeon pin right there.

Gudgeon: one who will bite at any bait or swallow anything, credulous or gullible person Mer. V. I. i. 102.  (that might apply to this project)

Definition of gudgeon
1: PIVOT sense 1, JOURNAL  (we're getting closer)
2: a socket for a rudder pintle (a rudder pintle?)

Definition of gudgeon pin: WRIST PIN

Definition of wrist pin: a stud or pin that forms a journal (as in a crosshead) for a connecting rod (that's it!)

They can make up anything! Nobody knows!  Well, you need a new Johnson Rod in here!
A few people know, George.  Consumer ignorance is expensive, but who has time
to understand the machines they depend on?


Gudgeon pins?  After the massive fight that was removing the seized cylinder head, I was bracing for misery, but I was able to pop the circlips (!) out and tap the gudgeon pins (!) through with no sweating and swearing.  Pink Floyd was playing on the computer and I think music from its era calms the old Bonneville down when I'm working on it.

The circlips popped out easily and a 3/8 inch socket extension was the perfect size to tap out the 'wrist' pins.  I thought the one on the seized side might cause more problems because it had been stuck in place with moisture but it didn't and both came out easily leaving a motor bereft of its pistons.


British Cycle Supply Co. delivered my 750cc kit quickly and without any headaches (and also for about $200 less than comparable kits out of the USA), so I got the shiny new bits out and had a look:


You'd think a 750cc head would look significantly different to the stock 650cc unit, but you have to look closely to see a difference in size.

I had a close look at the connecting rods and they appear to be in good shape and the bottom end of the motor moves freely.  I think next steps are to remove the rest of the engine from the frame, give the oil-in-frame a deep clean and then recoat it with some quality paint.  With the frame cleaned up and sorted I'll strip the rest of the motor and clean everything out to ensure nothing's whacky before I begin the great rebuild.

I could just chuck it all back together now and hope for the best, but if it ends up having other niggles rushing things at this point is just false economy.  I'm not worried about making the bike look mint, but I do want it to be dependable and that wouldn't be the case if I haven't checked it over completely after such a long (30 year?) layoff.  An engine out deep restoration was always the intention here and I'm not in any kind of rush since the other two bikes are both five by five and felt fantastic on their first rides of the year this past weekend.

The gudgeon pin itself looks to be in good shape, which is good because the head kit didn't come with new ones.  The circlips came out nicely too but the kit did come with those.  It amazes me that even specialized material like that in these cylinders can withstand the extreme forces they operate in.  This Bonnie had done at least twenty thousand miles on these cylinders and they're still in remarkable shape considering they were face to face with more than 17 controlled explosions every second (a spark plug typically fires about 17 times per second at 2000rpm!).  You'd think all that heat and violence would cause more wear than I'm seeing in the beating heart of this motor.


This is the 3/8 inch socket extension I used to tap the gudgeon pins out.  Nothing grabbed or slowed the process down and I barely had to apply any pressure.  I might have even been able to push them out had I been so inclined.  
I caught the pin as it came loose and the cylinder lifted off the connecting rods easily.  Again, considering the extreme conditions the heart of every engine operates under, I'm impressed by the engineering and metallurgy that makes all this possible.


The new cylinders don't have the carbon build up from all those combustion cycles and look pretty spectacular in their pristine newness:


Here's the whole kit from British Cycle Supply.  It includes the cylinder head, cylinders, piston rings, circlips for the gudgeon pins and a head gasket.  I swiped the last one they had in stock for $688.75CAD ($535USD - told you I got a good deal).  Unfortunately I might be the last person on the planet to get a 750cc kit that cheap.  Prices will be going up on the new stock and probably even higher than that as we're in an inflationary spiral thanks to Putin overreaching and years of pandemic fueled broken supply chains; we live in interesting times.

Another tool came in that's interesting.  I was reading Practical Sportsbikes last week (highly recommended if you love bikes and getting your hands dirty on them), and editor Chris mentioned an endoscope smartphone camera he was using on a project bike to inspect the internal parts of an engine.  I found one on Amazon for under $40CAD and it came in on the weekend.  It lets you see parts of the engine that haven't seen light before.  It's an exciting thing that offers you a look into the secret life of engines.  I'm looking forward to using it as i continue to work on the Bonnie.

Through an inspection hole inside the engine - it's disco in there!

That look on my face after the first ride in a long, long time.

The 12 year old Kawasaki (left) and the 19 year old (!) Tiger (right) were keen to turn a wheel after a long hibernation.

Bison were out bisoning at Black Power Bison Co. when I was out for a ride in balmy 6°C March Sunday.


Sunday 27 March 2022

1971 Triumph Bonneville Restoration Project: Frame Breakdown & Rear Brakes

I'd initially planned to do a rolling restoration of the 1971 Triumph Bonneville project, but the state of the engine and my desire to get it back to a place where I can enjoy an updated, dependable but mechanically sympathetic restoration (I want the bike to retain its patina, but I also want it to be dependable) made a rolling restoration impractical.  The engine is lined up for a new 750cc head and electronic ignition system, but before all of that I have to get the frame and wheels sorted out so that I can put the upgraded engine back into a sorted rolling chassis.

To that end, it was finally time to take it to pieces, which also gave me a lot of space back in the one car garage once the bike stand was stacked to the side:

The frame out means I don't need to fill half the garage with the bike stand.

Black rubber bands cover the frame to swingarm joints (to prevent water getting in?).

Way more space in the garage with the Bonnie in pieces.

With the bike in pieces, I'm restoring all parts that I can reuse.  This usually involves some WD40, a toothbrush or wire brush depending on how filthy it is, and then a dip in a hot ultrasonic bath for small pieces to get them back to fresh.

The front wheel Smiths speedometer.

Into the rear brakes. Like everything else on this old bike they are much simpler than modern hydraulic brakes.

Bringing old parts back from the brink is very satisfying.

The entire rear brake system - the brake lever is so long because it is the only mechanical advantage you have when applying the rear brakes.  Instead of using hydraulics to amplify your push on the pedal, the old Bonnie is a simple mechanical system.  You press the brake lever which pulls that long metal bar which rotates the top of the drums, pressing them into outside of the drum.  No hydraulics, and I bet you have to press that lever like you mean it to lock the rear wheel.

Thursday 30 December 2021

1971 Triumph Bonneville Project: Photos from the current project and long term design ideas

 Some photos from the ongoing 1971 Triumph Bonneville winter project:


One of the boxes of spares.

Spare cylinder head and engine covers.

Looking into the top of the valves...


Yep, that's a 1984 plate sticker on it!

Front wheels cleaned up nicely.

Motor cleaned up well too!

Got it out into the minus ten sun to give it another clean up now that it's stripped.

Strance is back to stock now that the massive chopper front shocks are gone.


The goal is to get it mechanically sorted and ride it rat-bike style next summer to iron out an kinks.  Next winter it'll all come apart again and this time the frame will get painted and so will the body panels.  I've found some year correct Triumph badges but I'm thinking something a bit non-stock for the paint job, like perhaps a Gulf racing livery colour scheme:


https://www.autoevolution.com/news/gulf-racings-iconic-livery-looks-at-home-on-this-modified-yamaha-sr400-149258.html#agal_6


I'm also thinking about seats.  A plain stock seat costs the better part of $500US.  For only $100 more I could get a custom coloured Corbin seat!

https://www.corbin.com/triumph/vintlist.shtml


More research needed, but that looks sharp!  You can customize Corbin vintage seats like their modern bike seats, so I could match it to the Gulf racing colour scheme too.