Showing posts with label carburetor. Show all posts

Sunday 13 March 2016

There is always one more thing...

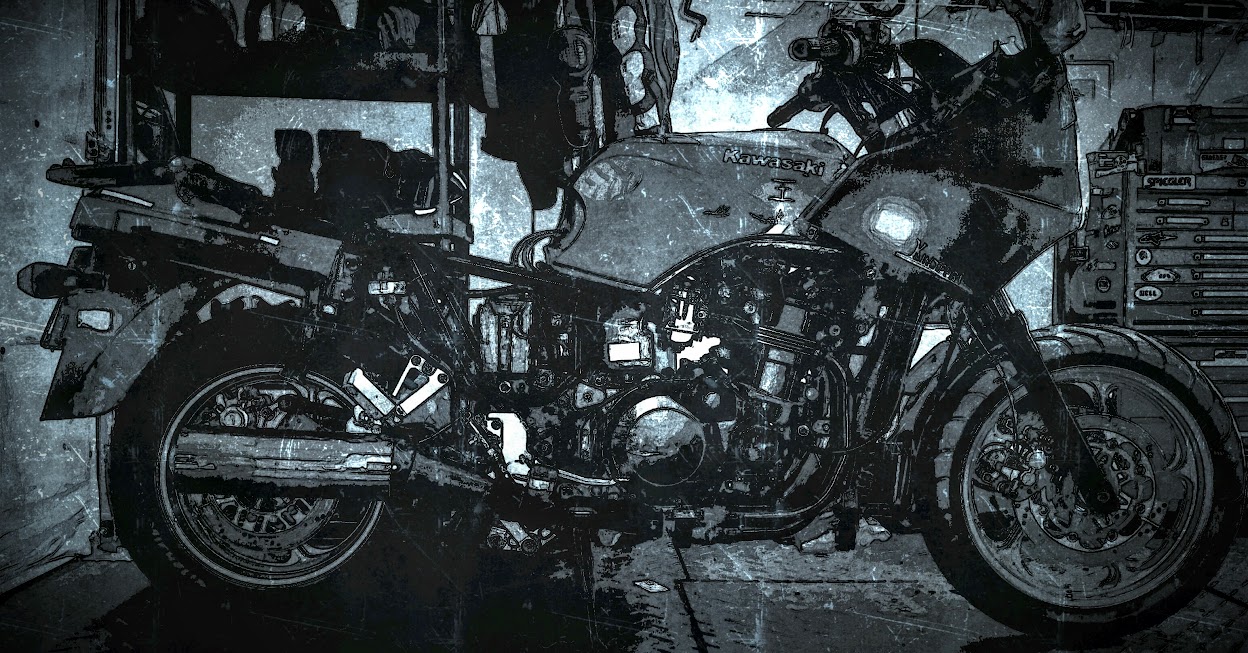
The open road awaits, and it's still waiting...
Recent frustrations with the twenty two year old Concours had me saying yesterday, "I like doing mechanical work, but sometimes I just want to go ride a fucking motorcycle."  It was a day in the mid teens Celsius (almost 60 Fahrenheit), and the sound of motorcycle engines could be heard on distant roads.  After spending the winter redoing the brakes, wheels and bearings, I got the Concours back on its feet only to find the carburetor has gone off.  The bike is running lean, not fueling nicely and back-fires when coming off throttle.  Instead of going out for a ride on one of the first nice days of the year, I was popping and swearing my way up and down the road by my house trying to get the carb to play nice.

Some vacuum diagrams on there, but not where they go.  Another
suggestion for lean burning/back firing conditions (which I have) are
the air cut valve (highlighted).
Some research into Concours carbs produced a baffling array of opinion and vitriol.  It appears that no one who works at a dealership has the experience or time to do carbs properly any more, and the carbs on the Concours are fantastically complicated.

I've done carbs before on cars, and labyrinthine vacuum tubes aren't a problem when you have a diagram to follow, but Clymers doesn't include one in their manual (unless it's for California bikes), and the Kawasaki diagrams show bits of vacuum diagram spread across the valve head blowup, the carb blow up, the fuel tank blowup, air box blow up and others.  Needless to say, trying to chase vacuum connections across half a dozen diagrams isn't easy.

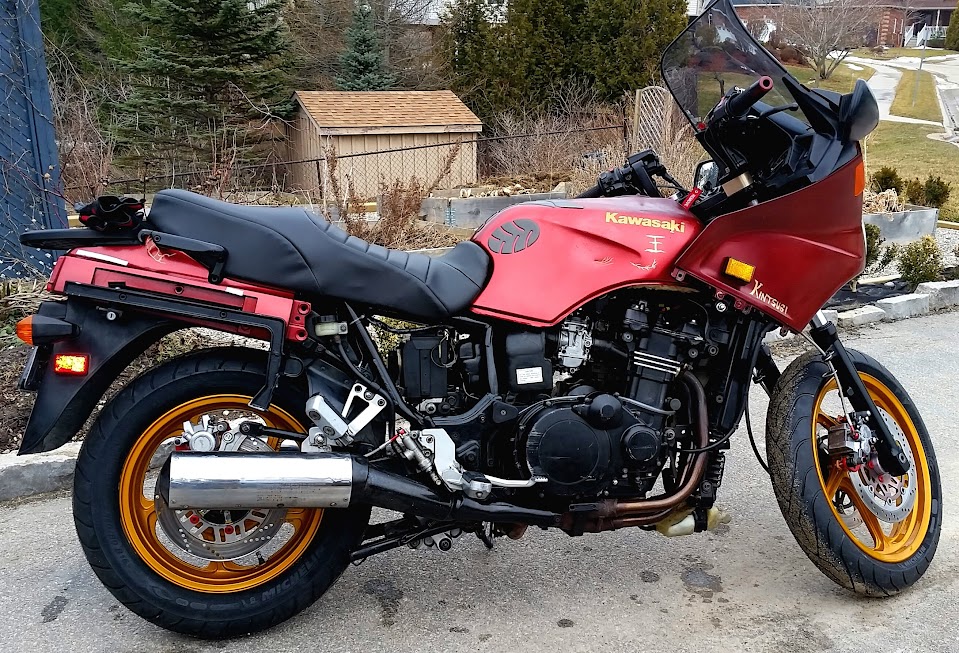
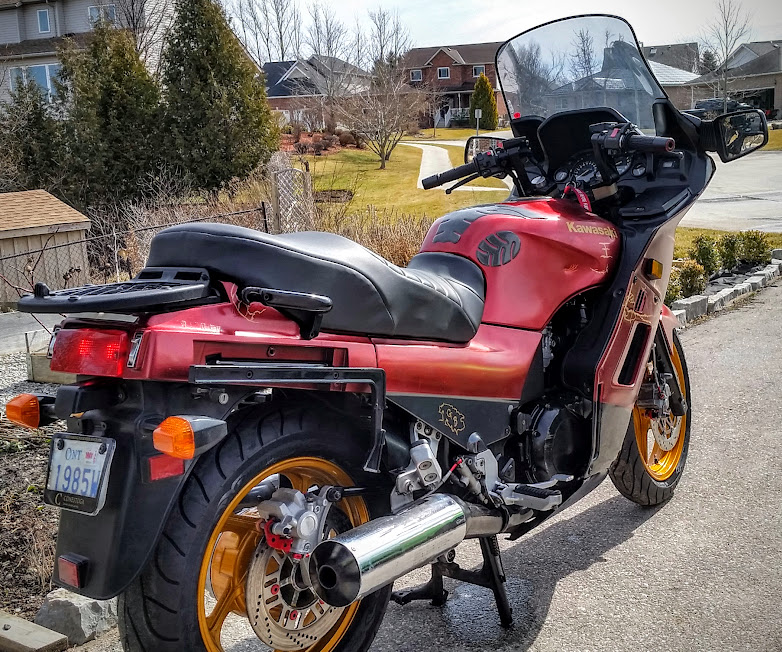
Today I'm taking the fairing I just put on back off, removing the gas tank (again) and trying to make sense of the vacuum tubes.  If nothing obvious presents itself it'll be time to remove the carbs and go deeper.  I just did something similar on the XS1100 in the fall.  I haven't had time to work on it since because I'm spending all my garage time on the Concours.

I'm starting to think one project bike is enough.  The other one needs to be modern, dependable and there when I need it so I can, sometimes, you know, just go ride a damned bike.

Sources for Concours carburetor and vacuum information:

As usual, CoG is the place to go first:
http://forum.cog-online.org/index.php?topic=27077.0
http://forum.cog-online.org/index.php?topic=38095.0
http://forum.cog-online.org/index.php/topic,11914.0.html

CoG wisdom on Concours carbs:
Normally it is caused by dirty carbs and and not being sync'd properly. The dirty part can be from just a few days of sitting due to the ethanol evaporating....

it's very likely during the "cleaning" they did not dissassemble the air-cut valves from the 2 carb bodies prior to spraying with volatile carb cleaner. internal to each of those housings is a very delicate diphragm, not unlike the ones that lift the slides....during this process they damaged them, and at the least, never cleaned the rod attached to those diphragms that during decell, when the diphragm moves, opens a port to add fuel to the intake tract to preclude/prevent a "lean burn popping" upon decell. That is the sole purpose of those 2 valves, when they don't function, you get this result.

Check the vacumn stuff like you already mentioned. I had a back fire for a while, peeked under the tank, found the rubber cap on the #3 carb was split. Just for the fun of it, replaced all the hoses while there, good to go now.

You Cannot do away with the reed valves entirely unless you tap the ports in the actual valve cover and thread in some set screws. The easier way here is to leave the reed valves and metal covers on the valve cover, and remove all the vacuum hosing associated with the pair valve. Go to your local auto parts store, and pick up three 5/8" "heater core block off caps". They look like big vacuum caps, and also some 3/16" regular vacuum caps. Using the 5/8" Cap off the 2 ports left on the valve cover, and insert one backwards into the airbox hole. Use the 3/16" to block the intake ports.

Wednesday 9 March 2016

Reassembly


The old bike is coming back together again.  I've learned a couple of valuable lessons in the process:

a $30 toolbox should prevent
$50 in lost parts, every time
1) Don't take your parts to high school to get them worked on, they lose parts, don't do the work anyway and it causes confusion and headaches when you're trying to reassemble the thing.

2) I tried taking photos as I took the bike apart, which works well when you're putting it back together, but with so many small fasteners and other odds and ends it pays to have a parts tray set up and labelled.  

I've since purchased a cheap sectioned toolbox that will serve as a parts holder.  I'll use an erasable marker to label the parts as they go into each section of the toolbox.  That should resolve future finding-the-right-fastener headaches.

In the meantime, after multiple trips to dealer to pick up bits and pieces, I think I'm putting this all down as lessons learned and moving on.

The geometry of the bike is coming back together, but I've still got some work to do.  The rear brake went back on well, bled well and works perfectly.  It even has good pedal feel.  A concern in the rear is that the rotor suddenly seems out of round (it was fine before).  I'm going to get it back on the road and see if it needs reseating - it's a 20+ year old bike, so maybe I put the rotor back on the hub in a different way and it's not happy.


The front end all went back together without problems, but the front brakes don't seem to want to bleed to a tight lever.  Fortunately CoG has a solution.  After leaving the lever tied closed for the night the brakes are starting to come back.  Another round of bleeding and I should have some sharp feeling front brakes again.

The bike is running rough, and I can't tell if this is because it's been sitting over the winter or it needs the carbs tickled.  I'm going to have to look into it in more detail.  A short run yesterday in double digit temperatures showed that the back end is back together perfectly.  The beads are doing a wonderful job of keeping the wheels balanced and the new bearings and tires make for very smooth and quiet operation.

If I can get the front brakes finished up and the fueling sorted, I should be ready to go just in time for the roads to get rained clear of the sand and salt of winter.