Wednesday 15 February 2023

Plastic Welding

 I thought I'd give this a go when I discovered that one of the plastic dash bits (used) for the 2010 C14/GTR1400 Concours was upwards of $150US +shipping. One of the benefits of reading Practical Sportsbikes Magazine is that they're always dropping technical hints and ideas. They mentioned plastic welding in one of their project bike articles, so I looked it up.

The repair kit cost less than $40CAD and includes a heating 'iron' with multiple ends and piles of plastic strips you can melt into a repair. Starting with a simple crack would have been easier, but I had to rebuild the broken end of a complicated plastic form, including a missing bolt hole.


Here's the broken plastic dash panel:

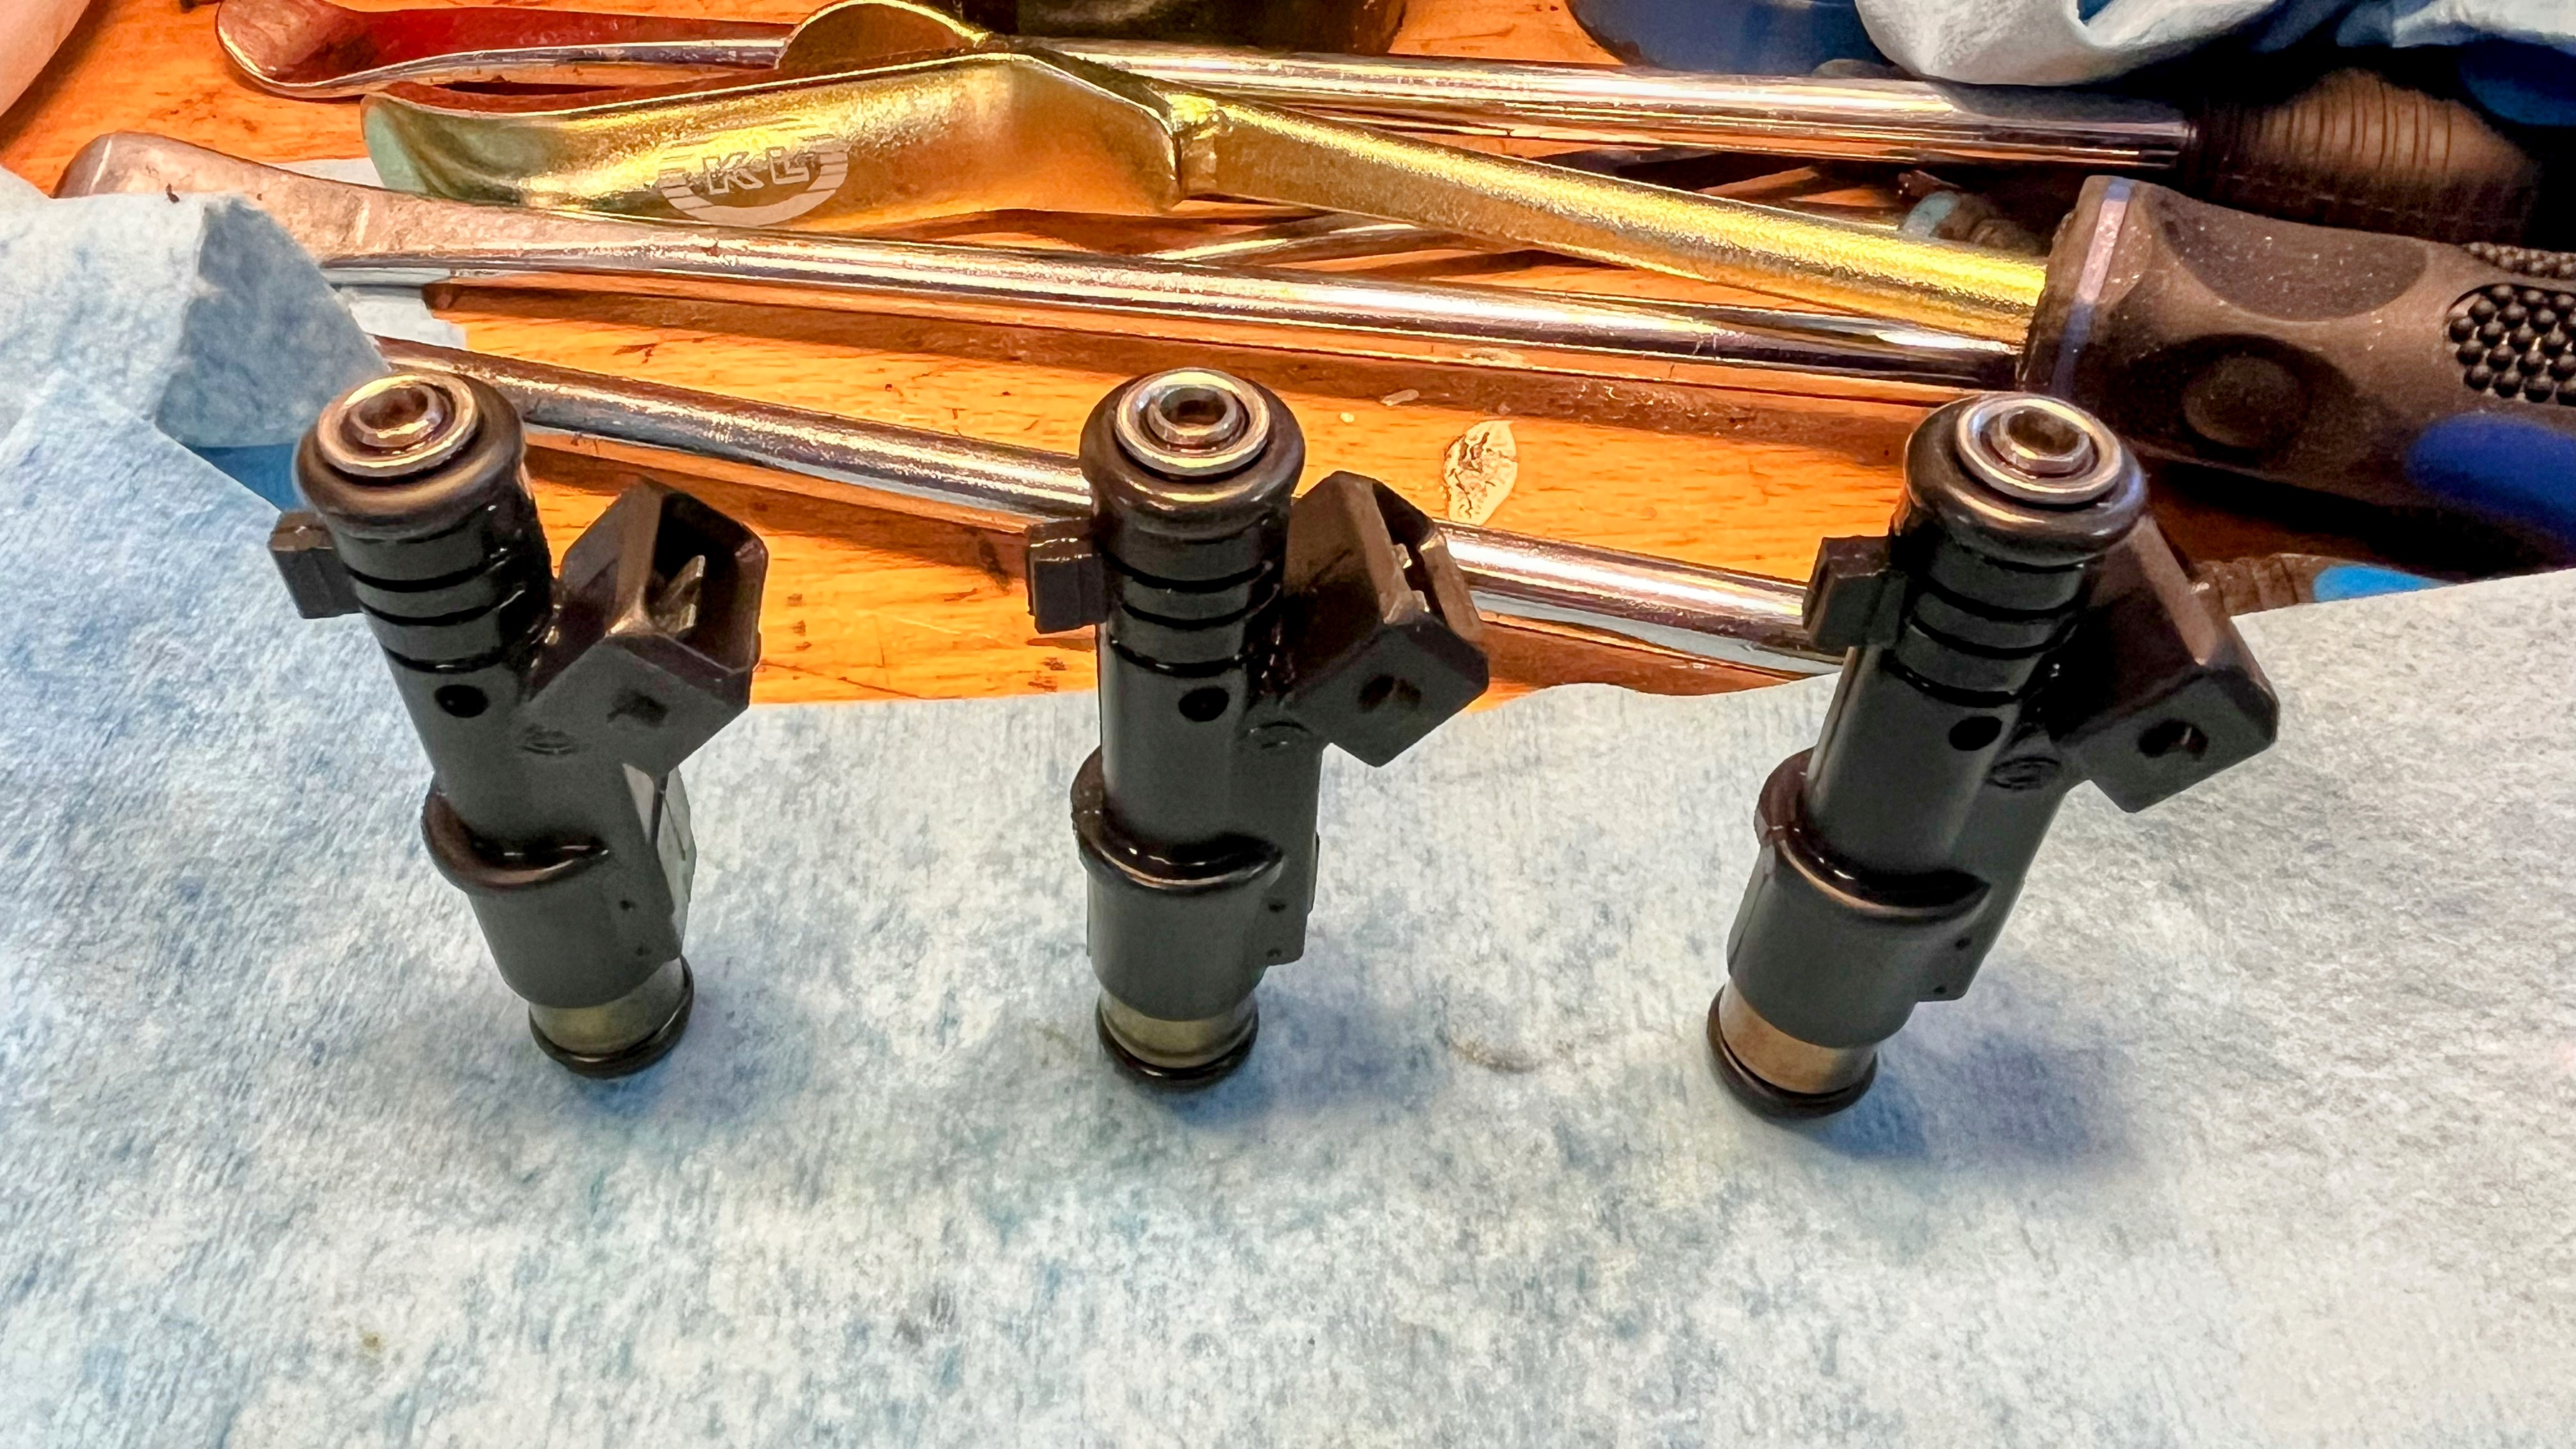
I found a piece of plastic from a hex key tool with a matching sized hole, cut the end off the plastic bit  and grafted it on.

While that was cooling I melted some of the filler on the back and healed the crack up the middle.


I was liberal with the filler because I figured it would sand back. The only problem with this piece is that it's patterned on the surface and I'm not sure how I'm going to replicate that. The fix might be to take both pieces of and just paint them to a matching finish.


When I tried it for size, the panel lined up with the holes perfectly and is much more sturdy than it used to be. I'm going to finish sanding it and see if the raw finish bothers me while riding. If it does I'll take both dash panels off and paint both sides so they match. If I use a vinyl paint, I should get a matching finish that also acts like the original and would Armor-All up nicely.

So, what's plastic welding like? Pretty straightforward, and like most things if you practice you'll get better at it. The filler sticks provided in the kit melt easily under the iron and fill cracks and holes well. If you don't like the first go you can reapply heat and get it to set differently. If you're looking at absurd replacement costs for old plastic on a well used bike, a plastic welding kit is a good purchase.


Winter Maintenance: Fuel Injectors on a 955i Triumph

 It's been a busy winter and I haven't gotten as much done in the garage as I'd hoped, but breaks in the gloom are beginning to appear so I spent the weekend getting the Tiger sorted and giving plastic welding my first go.

2003 Triumph Tiger 955i Fuel Injector Maintenance

The old Tiger is up at about 90k on the odometer. I did a deep maintenance a couple of winters back (swing arm out, everything gone over from the wheels up) and that seemed to solve most issues, except the fuel injection. These early electronic fuel injection systems in 955i Triumphs is touchy. What I've found that worked is to pull the injectors each winter and deep clean them in the ultrasonic bath, so that's what last weekend was.

Injectors out! I put the end without the electrical connector into the ultrasonic cleaner and give it 10 minutes at 60°C. Once out I clean them up and back in they go. No hesitation or idling problems since.

That vacuum run stepper motor (upper left) is what manages the idle control system - it's touchy! Make sure you've got good vacuum hoses (the black ribbed ones in the pic) and the gasket for the stepper motor is in good shape, or you'll be stalling... a lot. I'm sorting a threaded holder for the fuel injectors here.

Tank off gave me a chance to sort out the airbox, which I now seal with gasket material. At almost 90k, maintenance takes on jobs like rethreading bolts and gasketing tired airboxes to keep everything tight.

Found a stowaway on the airbox under the gas tank. Probably good luck?

Tiger is back together again and ready to take a run at 100k in it's 20th season.

How well did it work? We had a break in the polar vortex (it was -30° last week). In 5°C we went for a blast up and down the nearby river roads and it felt sharp. Doing that bit extra with an older high mileage bike when it comes to maintenance is the key to a happy riding season.