Wednesday 26 May 2021

MRA X-Screen Windshield Installation on a Kawasaki Concours 14


No regrets aesthetically with this windshield choice and they make a point of talking about how the windshield stops back pressure and noise which means it should work well with my rejuvenated windshield raising motor.

I'm a fan of MRA windshields since one came attached to the Tiger, so the Concours is getting one, but this is my first time doing an installation.  If you're installing an MRA windshield you can expect detailed instructions and all the parts provided in clearly marked bags.


Assembly is straightforward with clearly presented directions and useful diagrams.  It took me about 20 minutes to put it together.  The parts are quality and go together like you'd expect a finely engineered German windshield to.

There is an option to have a simple single pivot or a more adjustable but complex double pivot - I went with more complicated because I'm like that.  The mechanism releases and locks in a wide variety of positions.

I'm curious to see how all the different positions work as I get to know this more complicated MRA windshield.  With the extender set high at the top of the windshield the thing is about as big as the big slab of plastic Kawasaki put on it, except this one is also adjustable to go even higher and at a wide variety of angles.  Set highest it'll be much more effective than the stock windshield.

When it's all the way down the MRA windshield looks almost like a sports windshield and offers a solid windblast to the chest or lots of ventilation on a hot day.

Here is before an after.  You can see how much taller the old stock windshield is:

The old windshield was going opaque with age and was quite pitted and rough.  It also produced an astonishing amount of back pressure at speed which might have had something to do with the motor having problems.  The new windshield is lighter, more aerodynamic, more adjustable, quieter at speed and seems to have no back pressure issues at all.  I took it for a run up and down the river today and I'm very happy with this choice.  Even at lowest setting, when I F-14 swing-wing the windshield up it still provides good wind protection and noise reduction at 100kms/hr.

It looks sharp too...


They used to have a Canadian warehouse but don't any more, though they've worked out a system with Fed-Ex so you don't get any customs headaches or surprise costs when you order (though you do have to order in USD).

Tuesday 18 May 2021

A Bug Splattered Visor

 An evening ride out at sunset just a couple of dozen kilometres up and down the Grand River avoids the heat of the day, but in Canada you go from snow to bug season in a week, and we have!


How thick were the bugs?  Here's the visor after thirty minutes in the sunset...

On bike photos taken with a Ricoh Theta on a flexible tripod attached to the windshield and set to take a photo automatically every 6 seconds.

Sunday 16 May 2021

Chasing down a clutch slave cylinder leak in a 2010 Kawasaki Concours C14

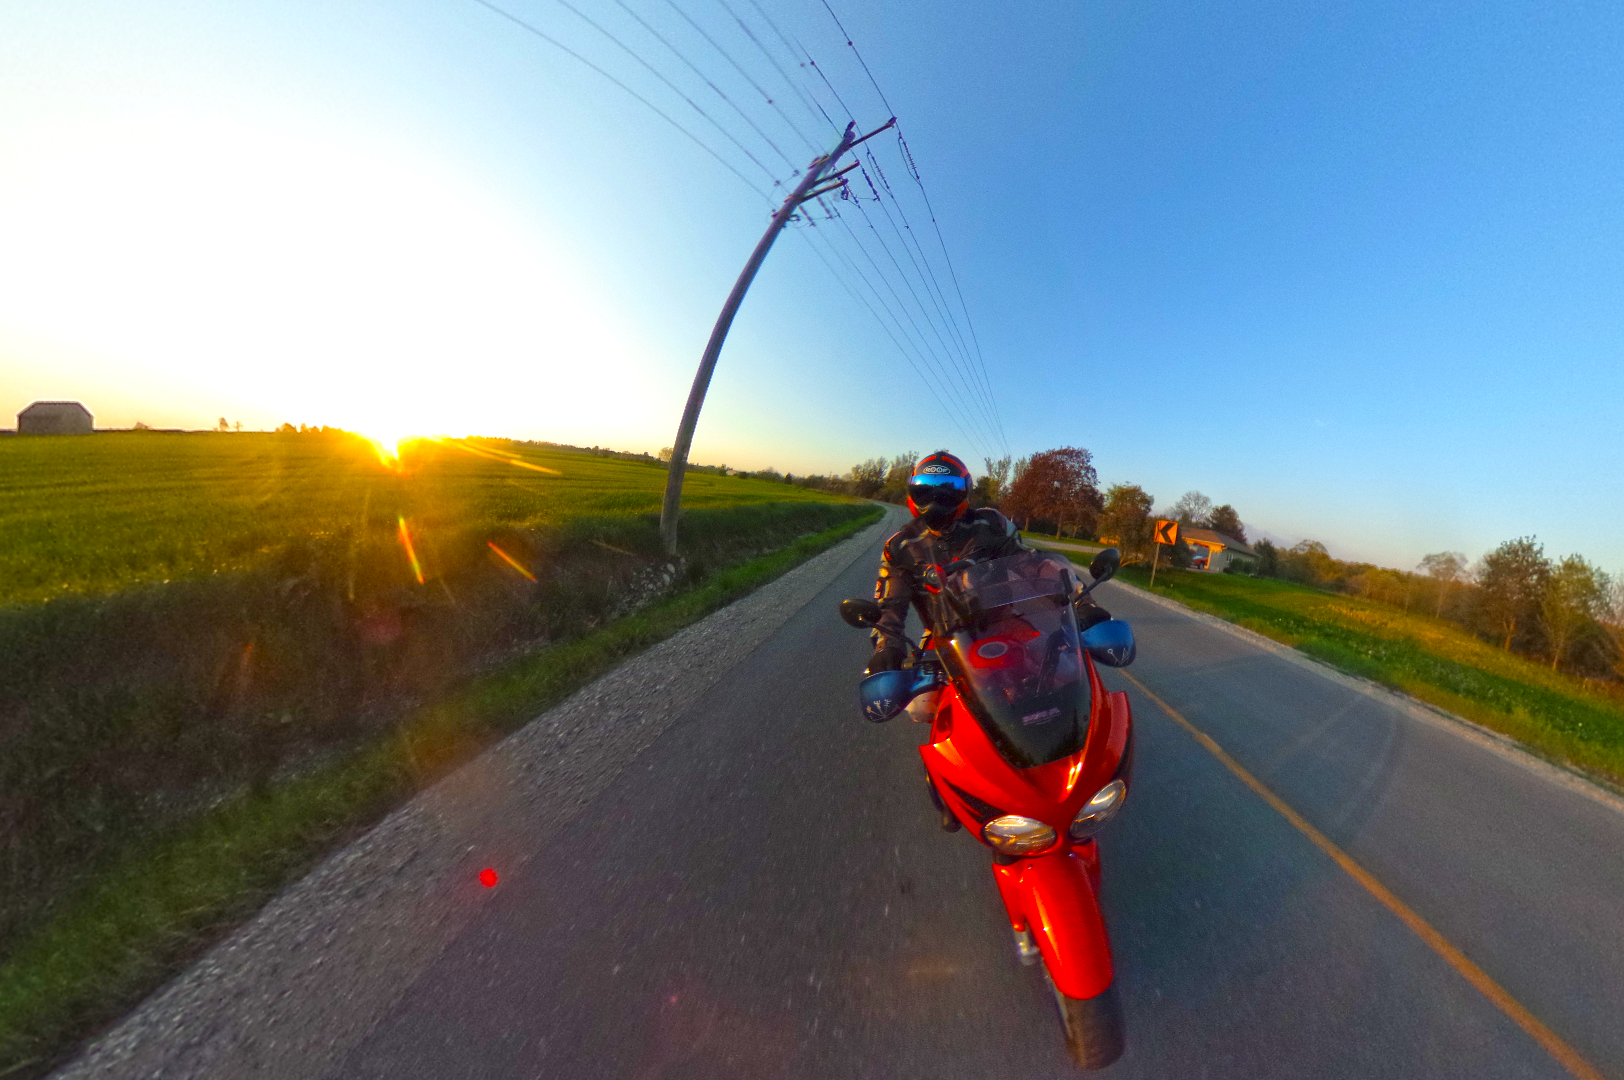
Motorbikes are like sharks, they die if they aren't in motion.  There is a funny moment in the Bakuon!! motorcycle anime where the old motorcycle store owner talks about how lazy motorcycles are since they just lay down if no one is holding them up.  So bikes are sharks that need people to keep them in motion.

The latest project bike is a fantastically complicated machine.  I've rebuilt fabulously complex sets-of-four-carburetors and chased down other complex repairs in motorcycles, but I suspect this 2010 Kawasaki Concours C14/GTR1400 has single systems, like its motorized windshield, that are more complicated than whole previous bikes I've worked on; this bike a complex mix of mechanical and digital engineering, and it's been sitting for several years when its previous owner could no longer give it the urge to stay in motion.

On the Concours the clutch slave cylinder uses brake fluid to hydraulically assist the clutch, giving you an even, assisted clutch action.  I went for a long ride on the Tiger yesterday and I'm not ride-fit yet as it's still early in the season.  The grip muscles in my left hand were singing by the end of the ride and I was getting lazy with gear changes as a result.  A hydraulically assisted clutch would make long rides more comfortable, so there are benefits to this complexity.

This is the first bike I've owned that isn't a simple mechanical clutch that uses a cable tied to the transmission.  On the C14 the clutch is on the lower right of the motor and the clutch and the slave cylinder it feeds is on the left.  When you apply the clutch the brake fluid in the hydraulic system pushes a (very) long rod that runs right through the bottom of the motor over to the clutch.  That long rod is coated in molybdenum disulfide grease and connects the hydraulic clutch slave system to the clutch itself over on the other side of the motor.

One of the parts diagram blowouts I was looking at called the 92026a a gasket, so I purchased that thinking that's where the leak was, but this isn't a gasket, it's a hard spacer.  When you attach the clutch slave cylinder housing to the bottom left side (left and right is with the rider on the bike), this spacer isn't a seal and the bolts holding it on need locktite to keep them in place because they're only held on with 97 inch-pounds of torgue (which is little more than my hand tight).  You don't want to crank on the bolts, you want to sympathetically install the housing to spec so the spacer isn't squashed and can do its job.


When I got into the clutch housing it was pretty grotty.  This stationary shark has lots of little rubber bits in it that don't sit well, and the 92049 rubber piston seal has perished in the years the bike sat.  The brake fluid that the clutch hydraulic system uses was leaking past the seal into the chamber with the rod in it, which is usually dry, and then leaking around the spacer.

In retrospect I should have looked over the shop manual more closely and wrapped my head around how the system works before I rushed in to buy a spacer I didn't need.  I've contacted Two-Wheel Motorsport to get the seal.  They were very quick with a 2-day turnaround (impressive during Ontario's third-wave of Covid) and offer curb-side pickup, so I'm hoping by mid-week I'll have what I need to rebuild the clutch slave cylinder and get the clutch back to spec.

I'm now wondering if this leaking seal was the reason why it was such a pain in the ass to bleed last time - that certainly makes sense.


That clutch cylinder (gold) slides out and the seal and spring are easily accessed.  You need to replace the seal if you remove the cylinder so make sure you've got one on hand if you're going to pop the cylinder out.

It's also recommended that you apply some rubber grease to the seal as you're installing it.  This stuff looks like it'll do the trick and is formulated specifically for a tough life immersed in brake fluid.

Interestingly, replacing this seal isn't in the clutch section of the shop manual but rather in the maintenance section, which suggests that these seals have a limited life-span and are a regular maintenance item.  If you own a C14 you're probably going to be doing these at some point, especially if the bike sits for any time or you're not a regularly clutch fluid maintainer.


NOTES

Upper bleeder is 8mm, lower is 10mm.

SPEED BLEEDER parts listed from Murphs:
part:  SB8125# thread: M8 X 1.25 length: 1.10, (27.99)
part:  SB8125L # thread: M8 X 1.25 length: 1.28, (32.54)


Online resources for Concours Speed Bleeders
Murph's Kits - but they are very US focused  *5 each PN SB8125L, and 2 each PN SB8125*
Dennis Kirk:  gives lots of technical details


FOLLOWUP

The installation of the seal is very straightforward.  You can slide the cylinder out by hand and then remove the seal, which sits in a depression, very easily.  The new one was a snugger fit when sliding it back in, which is probably why the old one was leaking.  I coated the seal in this brake lubricant, which helped it slide in.  Pushing evenly with the heel of my hand helped seat it straight.  I also lubed up the rod that runs through the motor to the clutch with this moly grease.

The whole process took about 10 minutes and no more leaks.  The clutch bled much more quickly and easily without the leak and the clutch feel is excellent now.


Getting the fairing back on required some fiddling as the previous owner's drop had bent the metal piece it attaches to and I'd fixed the cracks in the fairing so they all lined up true now.  I ended up heating it up and bending it back to its usual position and it all went together.  The bike's now ready for a safety but I'm having trouble getting a response from Lloyd, my usual go-to local mechanic.  Hopefully I can get the paperwork in order and get it on the road next week.


Thursday 13 May 2021

Concours Arts & Crafts

It's arts and crafts weekend with the new bike (and a bit of light maintenance changing the gear oil in the final drive.  Here is the list of things to do in the get-it-back-on-the-road plan for the Kawasaki Concours 14:

Solve the top-box situation

I've never had a fancy, colour matched top box before.  The one that came with the Connie is a Givi-based device and I have another Givi box that would slot right in there, but I want the fancy back.

How to get the fancy back?  The stock one broke off when the former owner tipped over a in a parking lot and snapped it off.  It broke one of the bars that hooks into the base and cracked the other.

To solve the breaks and restore the bike to normal removable top-box function I'd need to replace the broken tab.  The former owner threw a couple of bolts through the bottom into the frame mount, but this leaves two bolts poking out if the top box is removed and means the top box is basically permanently attached to the bike, which isn't ideal if you're heading into a hotel for the night when on the road.


The solution was to take  some steel frame and bolt it to the bottom of the top-box while poking it through the hole so it would act as the broken off tab.  The Dremel helped me clean up the holes and the steel frame fit snugly through the break.  I bolted it to the bottom of the case with low profile stove-style heads so they won't interfere with the base and then used Gorilla construction glue to seal it all.  Once it's dry I'll sand it down and paint it flat black and then it should be back to regular service.

I'm very happy with the final results.  I used the Dremel to round the metal tab I made so it matches the stock one and the box slides on and off like stock.  The Gorilla construction glue sealed very strong and securely.  Painting it all flat black makes it all but invisible, not that anyone would see it on the bike anyway.


Solve the paint scratches from the drop

The ColorRite package arrived this week with the suggested touch-up paints for this particular Neptune Candy Blue version of the C14.  It's a beautiful paint job and so the touch-up requires a base coat, the Neptune Candy Blue and then a clear coat on top.

I also picked up some 'Flat Super Black' that should cover the ding on the bottom body panel.

With some steady hands I should be able to minimize the scratches and then buff it into the regular paint work.  It won't be perfect but I think I can cover the worst of it to the point where it's not immediately noticeable.

None of the damage cracked any of the plastic body panels which is incredible considering the weight of the bike.  A bit of touch up and it'll be barely noticeable, especially as it is only at the bottom of the side panels.  All the higher up/more obvious panels look brand new.


If I end up hanging onto this one for a long time I'll eventually get the panels repainted but this was never meant to be an on--a-pedestal bike so I wasn't so worried about some scratches on the body work.

UPDATE

I dremelled down the rough edges from the bike's slow speed drop by the previous owner.  I then ran some fine grit sandpaper over it to flat it.  It isn't perfect but it's much better than it was.  The base coat from ColorRite is designed to darken the naturally light colours plastic so when the Candy Neptune Blue goes on over top it's not also trying to cover up white plastic.
I didn't go for the spay cans from ColorRite because the cost of shipping them was staggeringly expensive (pressurized containers make shippers nervous).  If I'd have ordered the spray bombs the cost of shipping would have been more than the paint itself.  Rather than dropping a couple of hundred dollars on a patchy fix I think I'm going to get these to the point where they aren't obviously damaged and then at some point in the future pull the panels, clean them up and send them out for a professional paint job.

Painting is one of those things that works best with the right kit, and in my tiny garage the opportunity to set up a paint booth simply doesn't exist.  While doing these touch-ups, spring is in full bloom outside and in a matter of minutes everything was covered in pollen.  Things like that make painting very difficult.

In retrospect I should have just cleaned up the damage and painted it flat black for now.  The pens ordered from ColorRite are great for filling in a scratch but damage of this scale isn't what they're designed for.

On the upside, the damage is much less noticeable now.  The other paint I ordered was the 'super flat black' that goes on the lower panels.  After cleaning up that lower panel I discovered a couple of cracks from the drop.  I've sealed them with Goop Automotive Adhesive, which I've used before.  This stuff dries black, is incredibly strong and bonds to everything.  Any time I've done fairing repairs this adhesive hasn't just repaired the break but made the fairing stronger in the process, I highly recommend it.

I wish the paint pens had worked better but I'm not surprised that they didn't, it isn't what they're designed for.  With the body worked neatened up I'm more focused on getting the mechanical repairs (the damned clutch!) sorted and getting the bike on the road with all the maintenance .  Making it pretty can come over next winter.


Monday 10 May 2021

Kawasaki Concours 14 Project Updates: Easy Fob Battery Swaps and clutch gaskets


The battery in the fob for the C14 Concours is an easy DIY thing to do.  Pop open the fob (there is a hole at the front that you can slip a flat headed screwdriver into and then pop it apart.


It takes a 2025 lithium battery which you can find anywhere, I found this one hanging up in a Shoppers Drug Mart.  Pop out the battery, pop the new one in the slot (make sure the negative side is up), and snap it all back together again.  It took all of two minutes.  No reason to send that job to the dealership.


Meanwhile, having finally gotten the clutch bled and working properly, it promptly started leaking.  I think it wasn't before because it had run almost dry (the rubber cover in the fluid reservoir was sucked right down).

I've ordered a replacement gasket from my local dealer.  It was $14 including taxes and I should be able to pick it up in a couple of days in a curbside pickup.  There are benefits to having the dealer for this bike only fifteen minutes down the road.

You can see the drip lower right in that photo.  It should be any easy install but then I get to bleed the damned system again.  I'm hoping that the process I worked out last time produces quicker results this time.


You can see the rubber gasket on the back of the clutch cover in this photo.  It's three bolts and the whole thing should slide off.  The fluid was so contaminated last time that maybe this is a good thing - a chance to clean it all up inside and out.

I'm hoping to have the clutch sorted by the weekend and then sort out the safety and plates next week (assuming that's possible in COVID-riddled Ontario).

I'm looking forward to getting the Connie in motion again, it's been stationary too long.  Bikes are like sharks, if they don't keep moving they die.  Once this barely broken in (only 31k kms) Concours is in motion again I imagine it'll stay in motion for a long time.


Friday 7 May 2021

Kawasaki Concours C14/GTR1400 TPMS (tire pressure measurement sensor)

Now that I've gotten this sidelined C14 closer to road-ready I'm seeing a tire pressure warning from the front tire.  Both tires are fairly new with good tread and they hold pressure well (both were still right on 42psi after 2 stationary weeks in wildly swinging spring Canadian temperatures), so this isn't a low tire pressure issue, it's a sensor battery issue.

COG has a very handy thread on it here.  The key take-aways here are:  TPMS appears to be very temperature sensitive and can get crusty when not used for some time as this spider nest covered bike has.  Once warmed up, TPMS can come back to life.  I only went around the block on the bike yesterday and it was only 8°C at the time, so not exactly 'warm'.  As one poster mentions, he's ridden for decades without TPMS so if it's not working it isn't the end of the world.  For me, the best advice here is how to turn off the panicky dash warnings that prevent you from seeing anything else:  

"a simple push and hold of the top button along with a push and release of the bottom button will light up a red warning light, and return the display function to normal when your TPMS battery is low. Also, BDF offers a simple plug in device which restores the range function and eliminates that annoying "LOW FUEL" flashing message."

It appears there are some UI (user interface) issues with how Kawasaki designed the C14 dashboard.  Having only ever owned bikes with analogue dash boards I'm finding this digital fussing kinda funny.  They may not be all fancy with multiple levels of information, but a well designed analogue set of clocks lasts forever, is easy to read and doesn't spaz out and distract you from riding.  Kawasaki really should have thought this through better.

TPMS in the Concours works through a radio sensor inside the tire that monitors tire pressure in real time.  I'd (foolishly) assumed this was somehow mounted in an accessible way around the air valve on the outside of the wheel but of course it isn't.

This handy home-mechanic goes through the process of getting into the tire in a gen-1 '08 Concours, finding the sensor and looking at the battery.  Kawasaki appears to have soldered the battery in (at least on '08s), which makes replacing the battery without replacing the whole unit tricky, but this guy gives it a go anyway.  Soldering onto a lithium batter is brave!  They like to explode when heated.


Here's the parts breakdown for the tire pressure sensor - you can see it bolts to the inside of the rim inside the tire so this is a maintenance-when-you're-changing-tires kinda thing.

This is the front pressure sensor part number: Kawasaki SENSOR,TPMS 315MHZ Part # 21176-0748.  

The rear tire pressure sensor is identical:
Kawasaki SENSOR,TPMS 315MHZ Part # 21176-0748

When someone asked how expensive they are to replace in that COG thread, someone else replied, "very."  They're out of stock on Amazon.  New ones are going for $300CAD a pop on eBay, so yes, very.

Partly because I won't miss what I've never had before and partly because I'm tight, I'll get this parked-too-long-Concours into motion and see if that doesn't wake everything up.  In the meantime I know how to turn off the panicky notifications that cripple the dash.  If the sensors don't come back online once warmed up and in regular use again, I'll consider sorting a new battery and/or unit when I do my first tire change on the bike.

Sunday 2 May 2021

Sense of Achievement! Concours C14 Windshield Fixed

I dug deep into the C14 Concours today and the windshield is solved! I followed the shop manual diagram, but it actually points at the wrong bolt to remove the windshield motor housing. There is a tricky bolt underneath, but otherwise the rest are on the front and the whole unit comes out.

The three bolts at the top that connect the instrument bezel and two lower bolts hold the whole assembly in.  You need to take the bolts out of the instrument bezel too, but you don't need to completely remove it or take the front body work off either.  With bolts removed and the binnacle loose, you can slide the whole unit partially out, remove the power plug in the back and slide it the rest of the way.

With it out on the bench I cleaned all the connectors and also loosed the motor out of its housing and cleaned it all out as well.  With the assembly out I could check the power coming and and both up and down were at battery voltage, so the relays, switch and back end of the circuit were all good.


Motor's on the left next to the big round thing.  With the contacts cleaned and the motor reseated I gave it a go and off it went...


While it was out I greased all the components - it's very quiet when it runs.  Nice, smooth action too.


***


With the front end solved and the fairing still off I figured I'd do an oil change.  The parts came in from FortNine in only a couple of days.  Mobil1 seems to have ceased to exist in the COVpocalyse, so I went with Motul for the first time.  Before I even put it in the bike I was impressed with the pop-out spouts built into each bottle.  WTH Mobil and Castol?

I didn't realize the 5100 was their mid-range oil but after seeing what came out of the bike I think I'll run this until the end of June as a cleanout and then switch to a fully synthetic oil.  Motul's full synthetic is pretty expensive and with Mobil1 no longer available I'm going to use Castol Power1 4T, which still seems to exist and is working well in the Tiger.

The filter wasn't coming off easily and even the oil opening plug was ceased shut, so I don't know the last time this thing got serviced.  The oil coming out was dirty but didn't have anything worrying like fuel or coolant in it, it was just very, very used.  Those are hard drive magnets on the end of the filter if you're curious.  They're super strong and keep any metallic detritus in the filter as the oil circulates. 


With the bike now back to spec and the basic maintenance taken care of it's time to get this thing on the road!  I'll sort out insurance this week and then figure out what's what with licensing with the 3rd wave running Ontario into the ground.